

One move, five very different jobs. 💪
Changing where your hands or feet go changes how hard a push-up feels and which muscles do most of the work.
This is a catalogue, not a promise. No single variation builds everything, and none of these guarantees a particular body shape.
For the general benefits of ordinary push-ups, see our push-up benefits guide rather than repeating them here.
And if you want the honest limits of push-ups alone, our ripped with push-ups guide explains what they can and cannot do on their own.
1. The Standard Push-Up 🏋️
This is the baseline every other variation below is measured against.
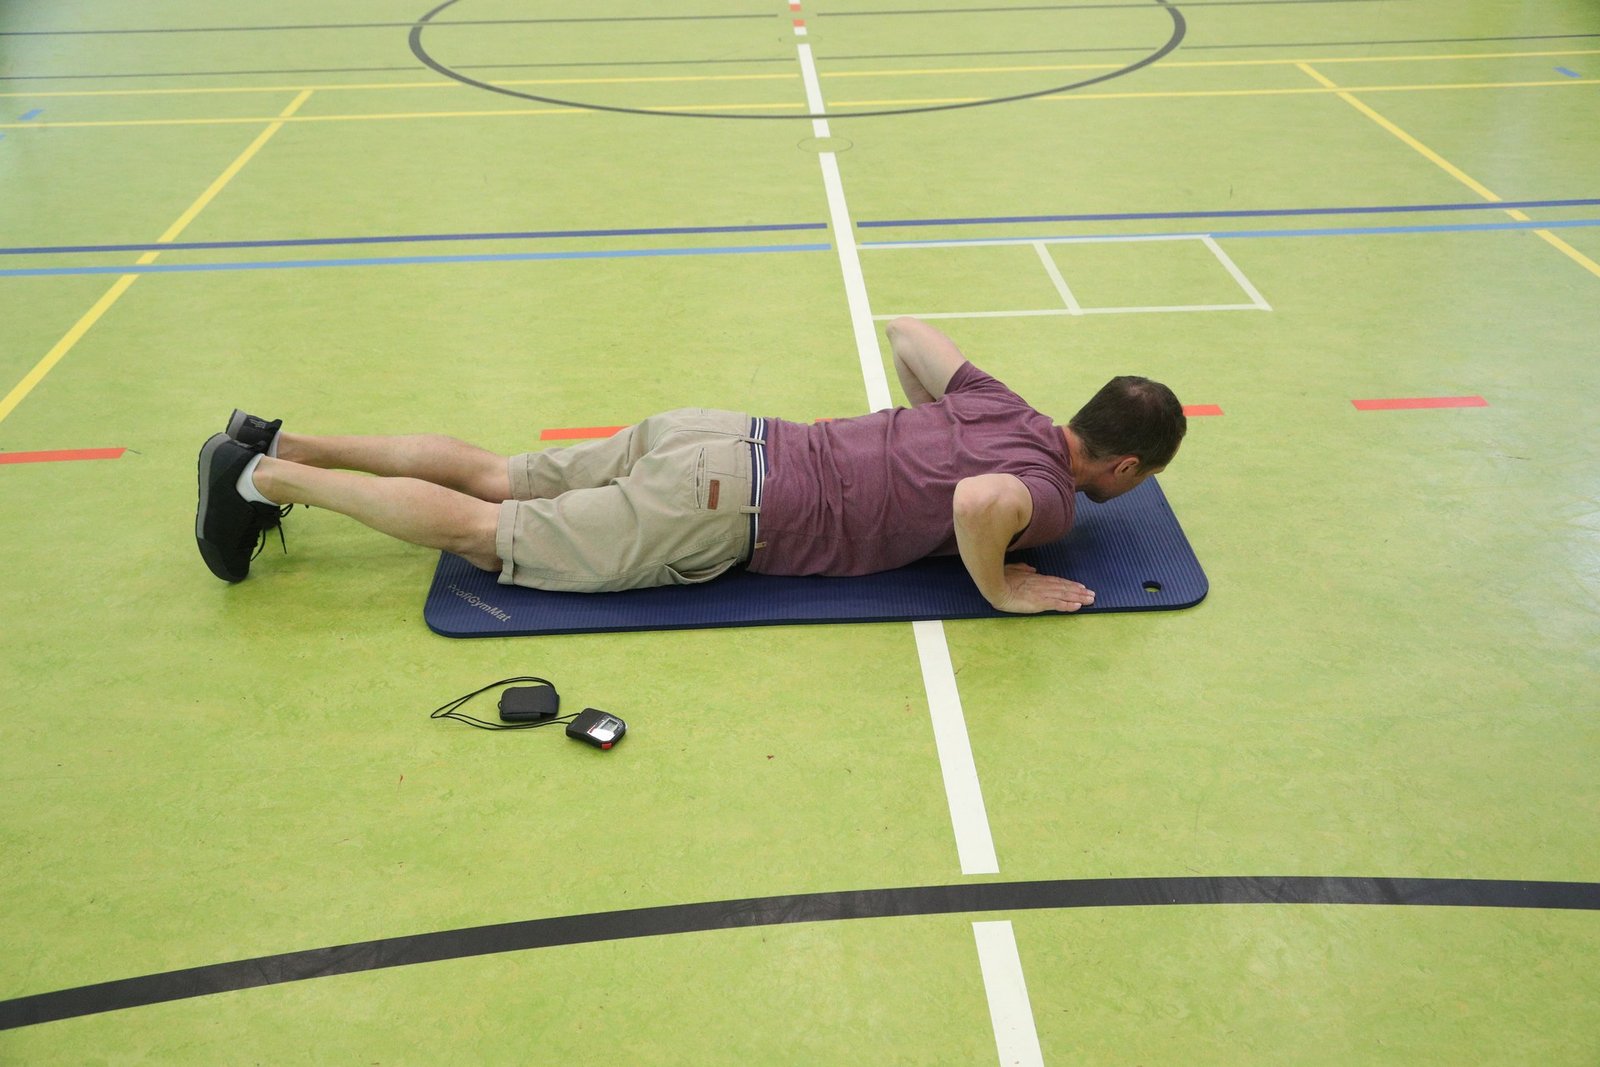
Start in a high plank, hands under your shoulders, feet behind you, body in one straight line from head to heels.
Lower your chest toward the floor with control, then press back up without letting your hips sag or pike up.
Keep your elbows tracking back at roughly 45 degrees, not flared straight out to the sides.
Your chest, shoulders and triceps do the pressing, while your core and glutes hold the straight line.
If floor push-ups are too hard yet, start with the incline version below and work down gradually.
2. The Incline Push-Up 🌱
Raise your hands, and the same move gets lighter.
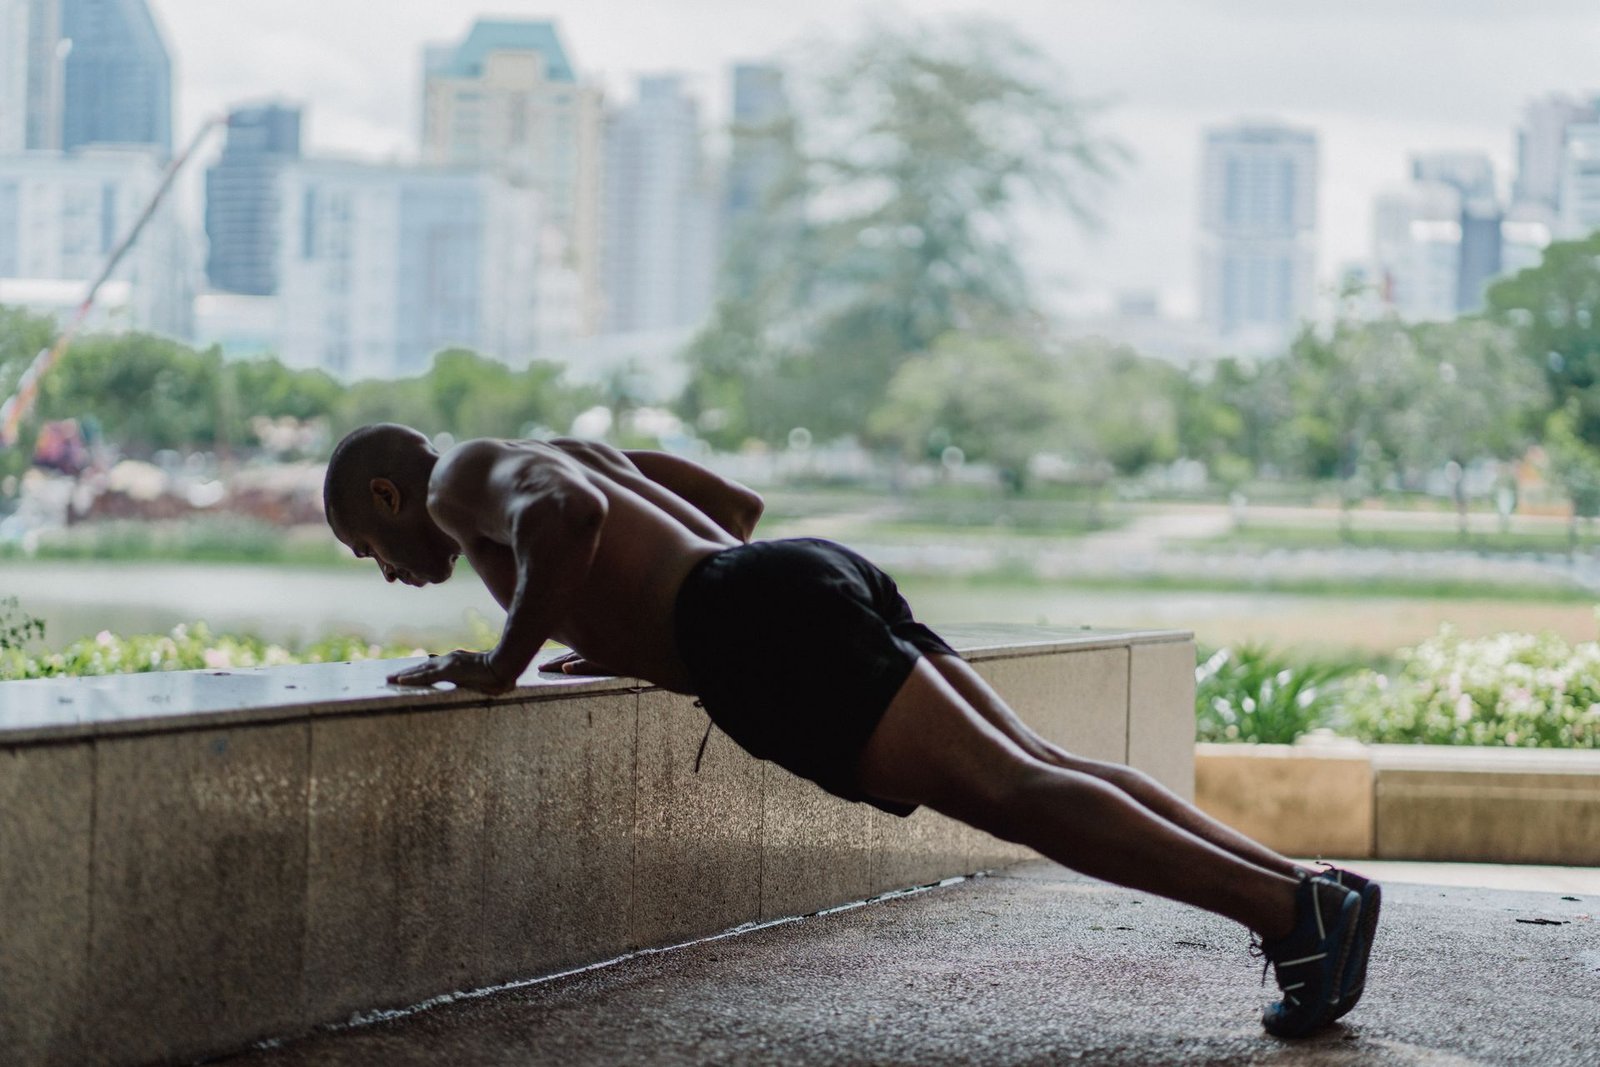
Put your hands on a sturdy bench, step, wall or low ledge, walk your feet back, and keep the straight line from head to heels.
Lower your chest toward the surface and press back up, just as you would on the floor.
The higher the surface, the less of your weight you lift — so start high and lower the surface as you get stronger.
This is the friendliest starting point in this list, and a useful option on days when floor push-ups feel too much.
Do not use a wobbly chair or anything that can slide. A stable surface matters more than a fancy one.
3. The Wide-Grip Push-Up ↔️
Move your hands wider than shoulder-width, and the press feels different straight away.
Set your hands well outside your shoulders, fingers pointing forward, and keep your body in the same straight plank line.
Lower with control, keeping your chest between your hands, then press back up.
Going too wide too soon is the usual mistake. If your shoulders pinch or your chest cannot reach a comfortable depth, narrow the grip a little.
A wider grip does not automatically mean a better workout. It is simply a different emphasis, and comfort still comes first.
Research on hand width is mixed, so treat any claim that one width is always best with caution.

4. The Decline Push-Up 🔼
Now flip the angle: feet up, hands down.
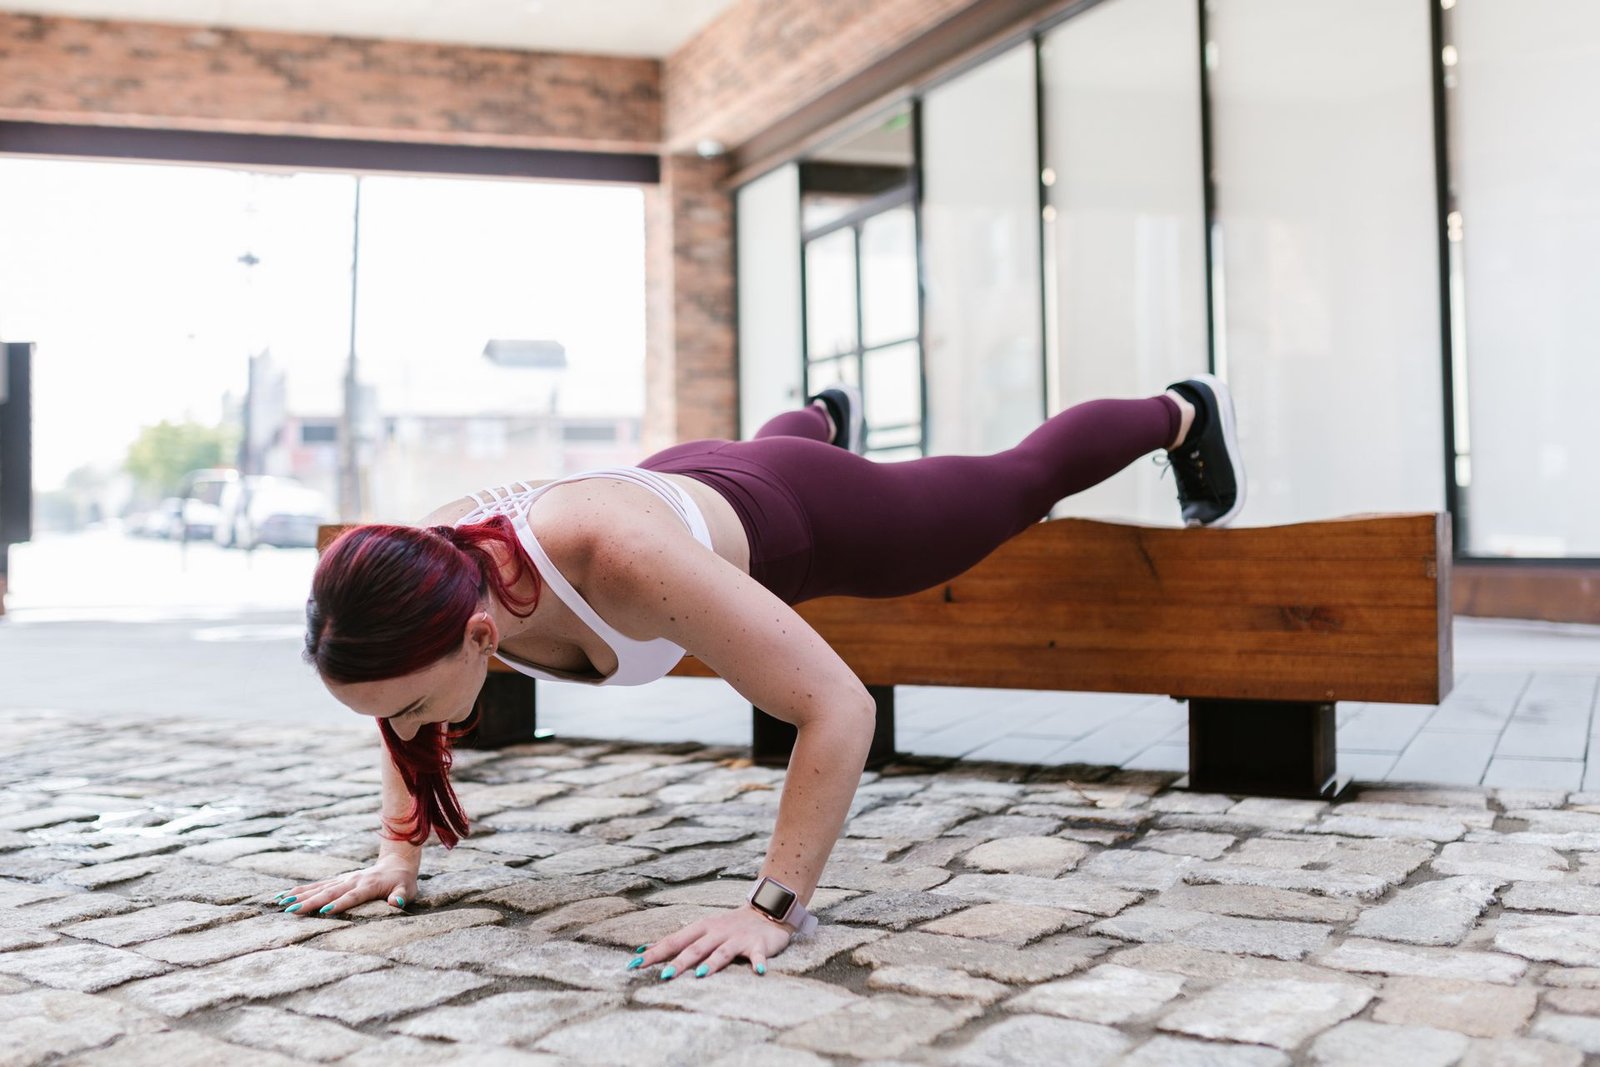
Put your feet on a low bench, step or box behind you, hands on the floor, body in a straight line sloping down toward your hands.
Lower your chest toward the floor and press back up, keeping your hips in line rather than letting them drop or pike up.
Because your feet are higher, more of your weight goes through your hands, so this feels harder than a standard push-up.
The higher your feet, the harder it gets — and the more your shoulders take over, so start with a low surface.
Make sure your feet cannot slip off mid-rep. A stable bench beats a high one every time.
5. The Plyometric (Clap) Push-Up ⚡
This one is explosive — and it is for later, not for day one.
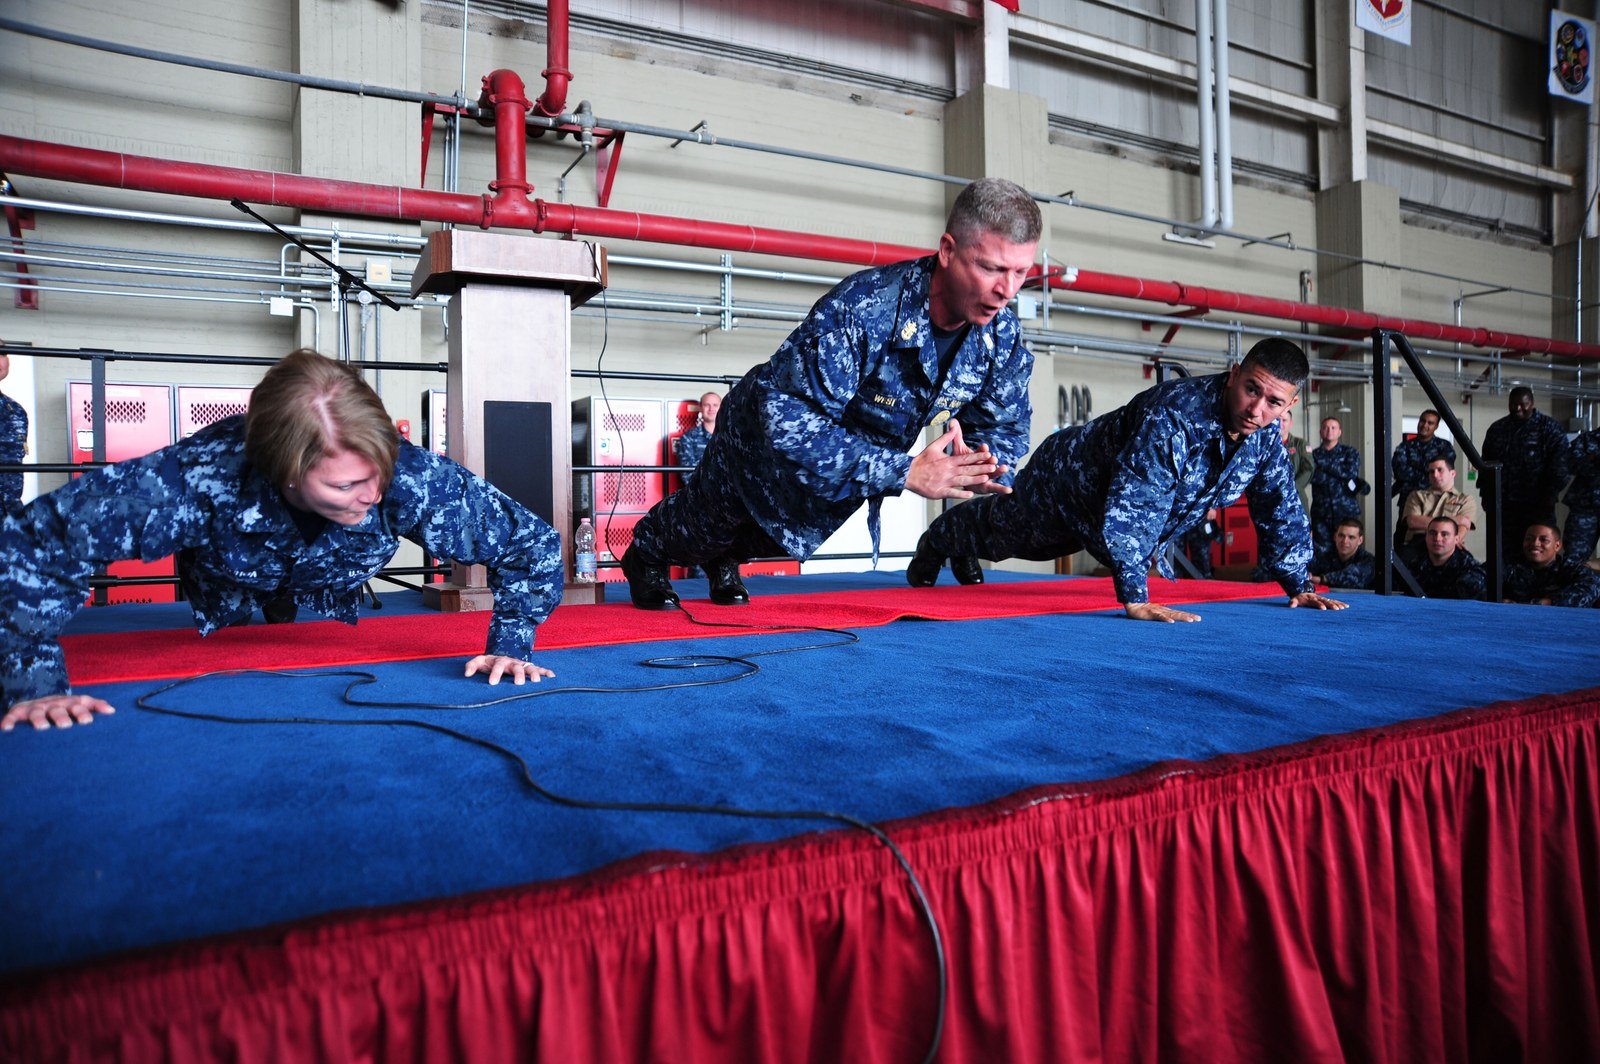
Start from a solid standard push-up, lower with control, then press up hard enough that your hands briefly leave the floor.
In the clap version shown here, you clap once in mid-air and land softly back on your hands.
Land with slightly bent elbows, not locked arms, and stop the set the moment your form breaks down.
This is a high-impact, advanced move. It is not low-impact, and it is not a beginner variation.
Only try it once standard push-ups feel strong and controlled, and skip it entirely if your wrists or shoulders are sore.
How to Choose Between Them 🧭
Start with the version you can do with clean form, not the hardest one on the list.
A sensible order is incline, then standard, then wide or decline, with the plyometric version last.
You do not need all five in one session. Pick one or two, do them well, and rest between sessions.
Quality beats struggling through sloppy reps. End a set when your straight line goes, not after it has already gone.
Common Mistakes to Avoid ⚠️
Letting your hips sag is the most common fault in every variation here.
Flaring your elbows wide puts extra strain on your shoulders, so keep them tracking back at roughly 45 degrees.
Dropping your head or craning your neck forward is another one. Look at the floor and keep your neck neutral.
Rushing the plyometric version is the riskiest mistake of all. Speed without control is how landings go wrong.
Staying Safe 🛑
Warm up first with some easy movement and a few standard or incline push-ups before trying a harder variation.
Stop if you feel sharp pain, pinching, numbness, or pain shooting down an arm. Muscle effort is normal; sharp pain is a stop sign.
If you have a wrist, shoulder or back condition, or you are returning from injury, get direction from a clinician before trying the decline or plyometric versions.
This article is general information only, not medical advice, and it is not a training programme for any individual.
What Is Not in This List — and Where to Find It 🔍
Two well-known variations are deliberately left out as full entries here, because no honestly verified photo of the actual variation was found for this refresh.
Close-grip push-ups, with hands closer than shoulder-width, and Spiderman push-ups, with a knee driven toward the same-side elbow, are both real variations — but a standard photo relabelled as either one would be misleading, so neither gets a pictured entry here.
Two other variations already have their own guides, so they are linked instead of repeated. For the flying version, see our Superman push-ups guide.
For the push-up with a rotation into a side plank, see our T-push-ups guide.
Frequently Asked Questions ❓
Can I just do one variation?
Yes. One variation done well, plus some pulling and leg work elsewhere in your week, beats five variations done badly.
Do I need equipment?
No, apart from a sturdy raised surface for the incline and decline versions. The standard, wide and clap versions need only a floor.
What if my wrists hurt?
Stop and get advice rather than pushing through it. Try a raised surface or a different hand position only if it is genuinely pain-free, and get clinician direction if the pain persists.