

Stronger arms feel better in everyday life. 💪 Opening a heavy door, carrying shopping bags and lifting a suitcase all get easier when your arms, shoulders and core work together.
That is what this guide is really about. It will help you build arm strength at home, with little or no equipment, and it will be honest about what exercise can and cannot change.
“Toned” usually means two things happening together. The muscles underneath get stronger and firmer, and overall body fat gradually comes down so that muscle shape shows more clearly.
No single arm exercise can pick where fat leaves your body first. That matters, because a lot of old arm advice quietly promised exactly that.
First, the honest truth about spot reduction
Spot reduction is the idea that working one body part burns the fat sitting over it. Do enough arm moves, the thinking goes, and arm fat melts away first.
The research does not support that as a practical plan. In a 2011 study, one group did seven abdominal exercises five days a week for six weeks, while a comparison group did no training.
The training group got much better at abdominal endurance. Yet their body weight, body-fat percentage, waist size and abdominal skinfold measurements did not change meaningfully compared with the comparison group.
A 2013 study tested the idea in a different way. People trained only one leg for 12 weeks, leaving the other leg as a comparison.
Fat did not drop preferentially from the trained leg. The change, where it happened, was spread across the body rather than pinned to the working limb.
There is one small exception worth mentioning honestly, not hardening into a promise. A small 2023 trial in 16 men with overweight matched two groups for total energy burned over 10 weeks.
The group that swapped some running for abdominal endurance work lost about 697 grams more trunk fat than the running-only group, while total fat loss was similar in both groups.
That is a modest, men-only, small-sample finding, not a proven arm-fat plan. It does not change the practical advice: train your arms to get stronger, and support overall fat loss with regular movement, balanced eating, sleep and patience.
If overall fat loss is your main goal, this companion guide on exercises to reduce belly fat explains the same whole-body principle in more detail.
How to use this guide
Pick two or three sessions a week, with a rest day between them. You do not need to do all five moves every time, especially in your first weeks.
Start with the easier version of each move and use good form. A comfortable starting point for most beginners is two sets of each move, stopping a couple of reps short of losing form.
As the moves feel easier over a few weeks, you can add a set or move to the harder version. Progress is personal, so compare yourself with last month, not with anyone online.
Stop if a move causes sharp pain, and get direction from a clinician or physiotherapist if you have pain, an injury, a health condition or are pregnant. This guide is general information only, not medical advice.
1. Push-ups
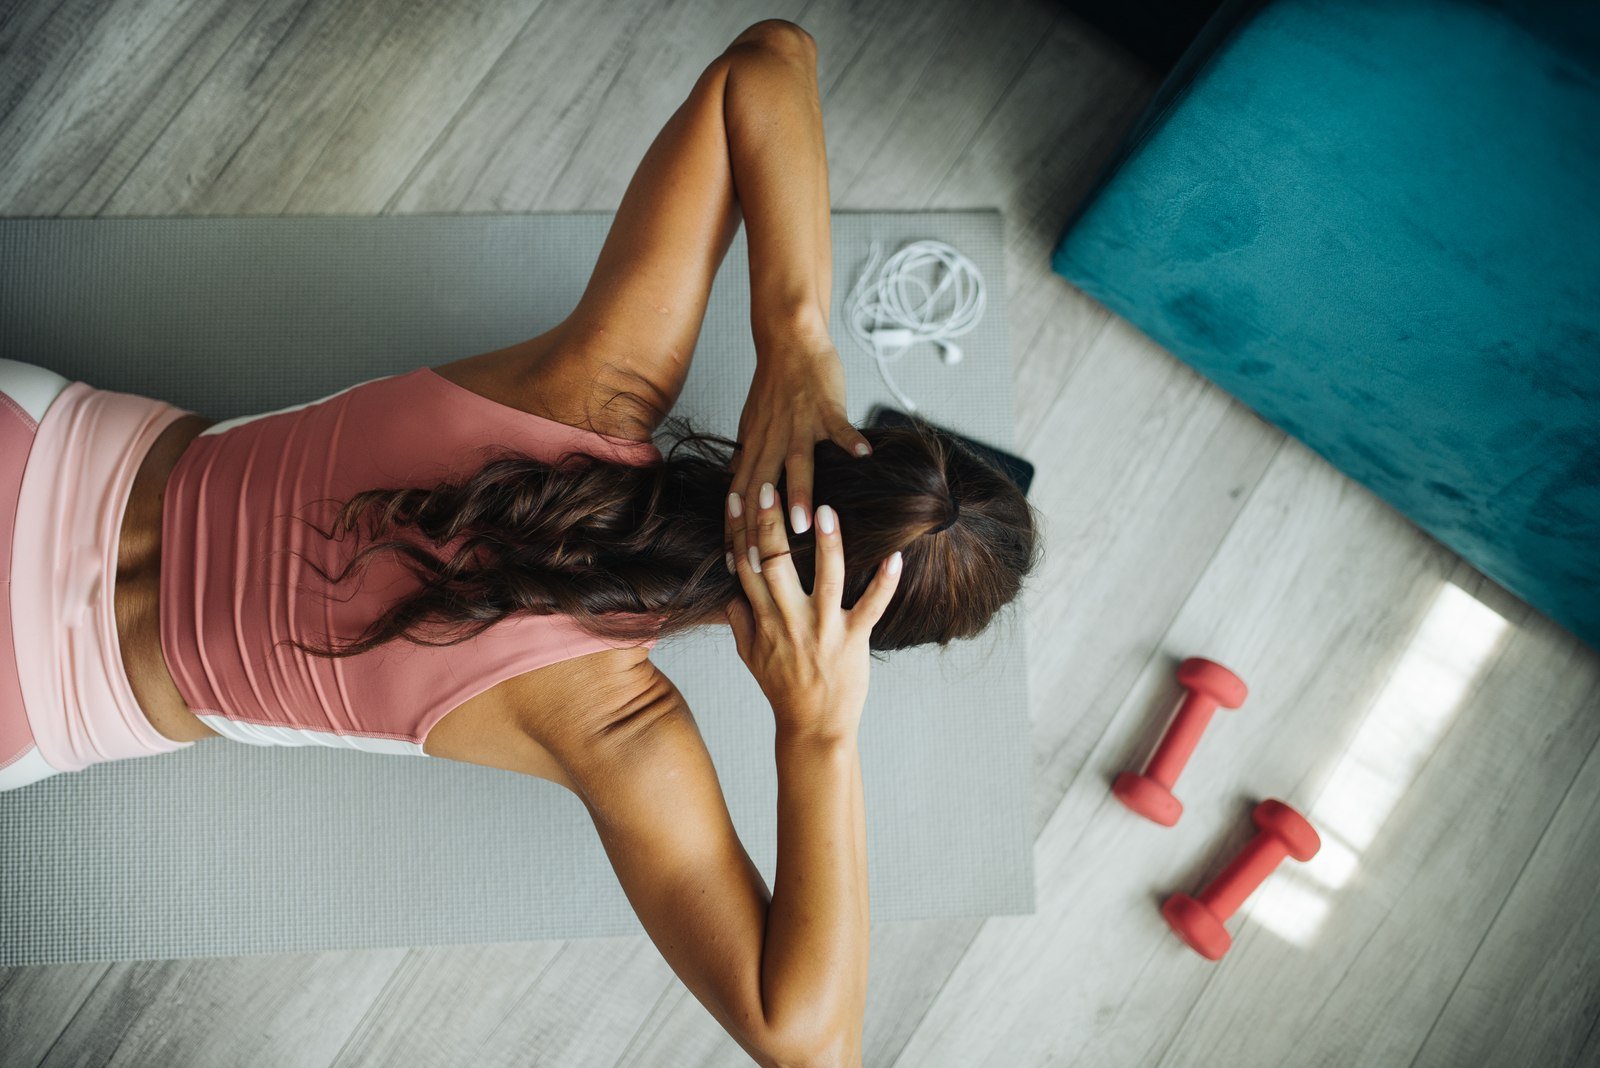
Push-ups work your chest, shoulders and triceps, with your core holding your body steady. That makes them one of the most useful arm moves you can do without any equipment. 🏠
Start on your hands and knees, with hands just wider than your shoulders. Walk your knees back until your body forms a straight line from head to knees.
Bend your elbows and lower your chest toward the floor, keeping your elbows at a comfortable angle rather than flared wide. Press back up without letting your hips sag or pike up.
If floor push-ups feel too hard, start with wall push-ups instead. Stand facing a wall, place your hands on it at shoulder height, step back, and bend and straighten your elbows in the same controlled way.
When wall push-ups feel easy, try knee push-ups, then full push-ups. There is no rush to reach the full version, and the easier versions still build real strength.
2. Chair triceps dips
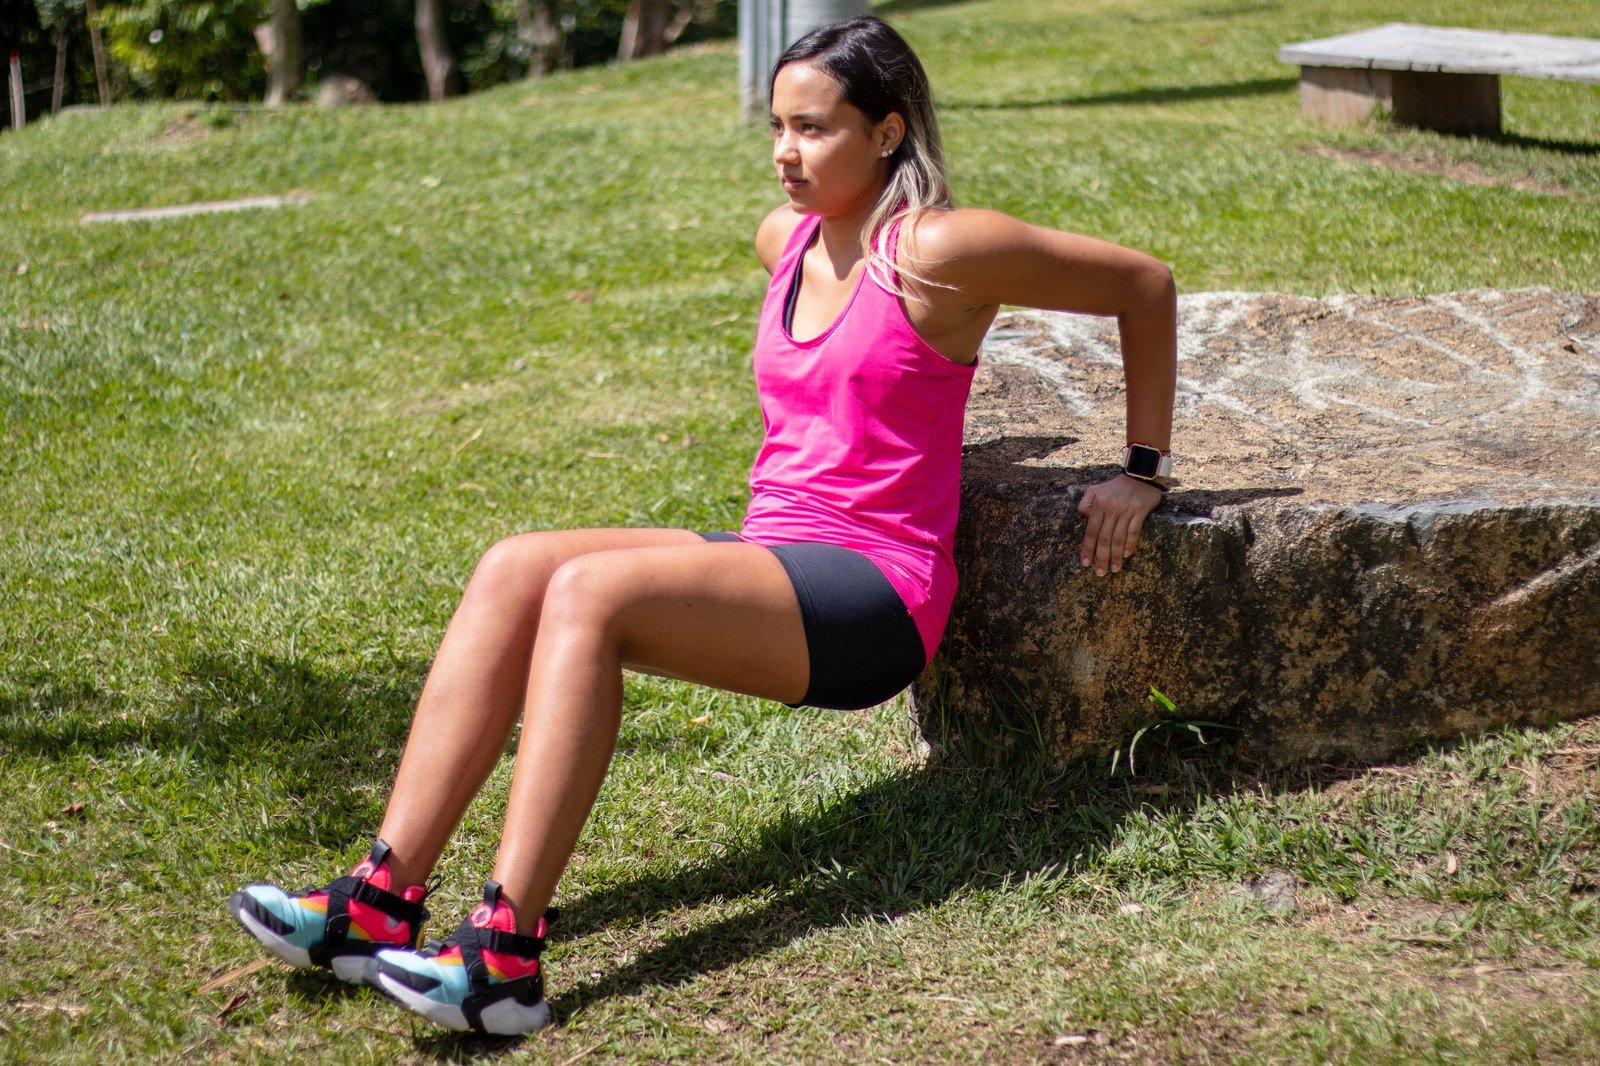
This is the key move for the back of your upper arms. Your triceps straighten your elbows, so they do most of the work here, while your shoulders help steady you.
Sit on the edge of a sturdy, non-slip chair or low bench. Place your hands beside your hips, fingers pointing forward, and walk your feet out in front of you.
Slide your hips off the chair, then bend your elbows and lower yourself a short, comfortable distance. Press through your hands to straighten your arms again.
Keep your elbows pointing behind you, not out to the sides, and keep your shoulders down and away from your ears. Only dip as far as feels comfortable for your shoulders.
For an easier version, keep your knees bent and feet close. For a harder version, straighten your legs and move your feet further away. If your shoulders complain, shorten the range or skip this move and ask a physiotherapist for an alternative.
For more triceps ideas and form cues, see the site’s triceps workout guide.
3. High plank
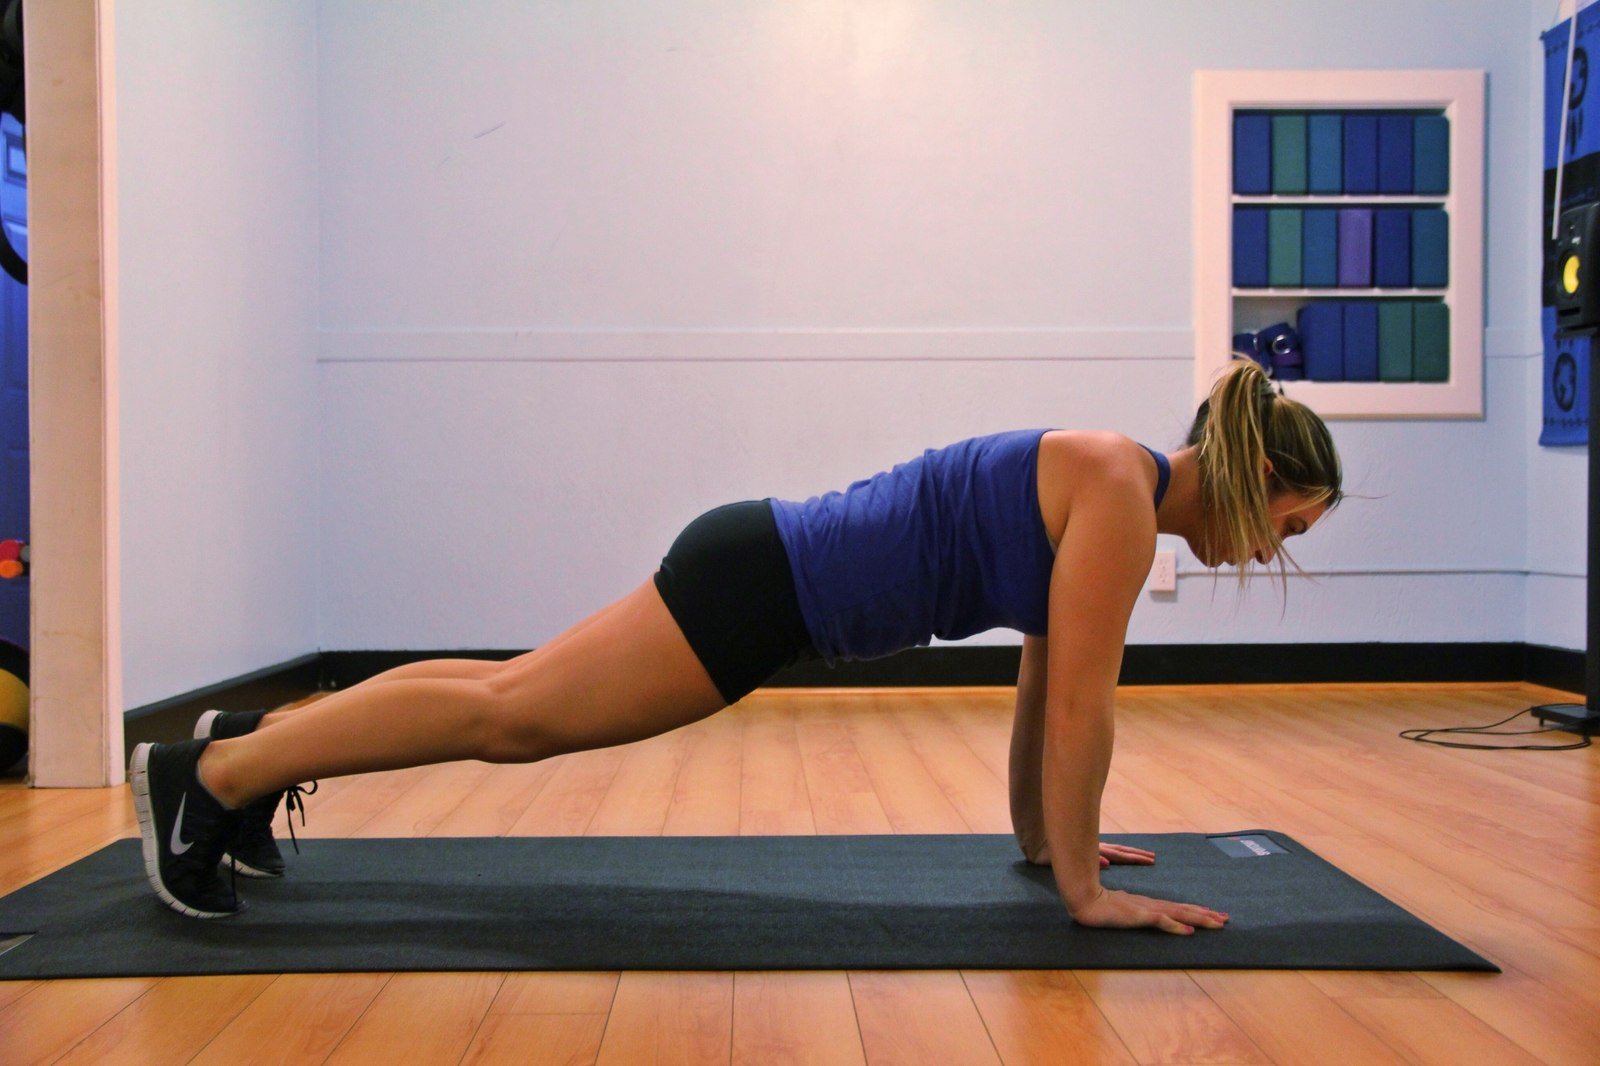
A plank looks simple, but it trains your arms, shoulders and core to hold you steady. That steady strength carries over to push-ups, dips and everyday lifting.
Start on hands and knees, hands under your shoulders. Step one foot back, then the other, until your body forms a straight line from head to heels.
Press the floor away, keep your neck long, and avoid letting your hips sag toward the floor or rise toward the ceiling. Breathe normally throughout the hold.
Start with short, good-form holds and rest when your form slips. A few clean holds beat one long, saggy hold, and you can build the time gradually over weeks.
If your wrists ache, try the same hold on your forearms, or on your knees, and shorten the hold. Pain that persists is a reason to stop and get professional advice, not to push through.
4. Side plank
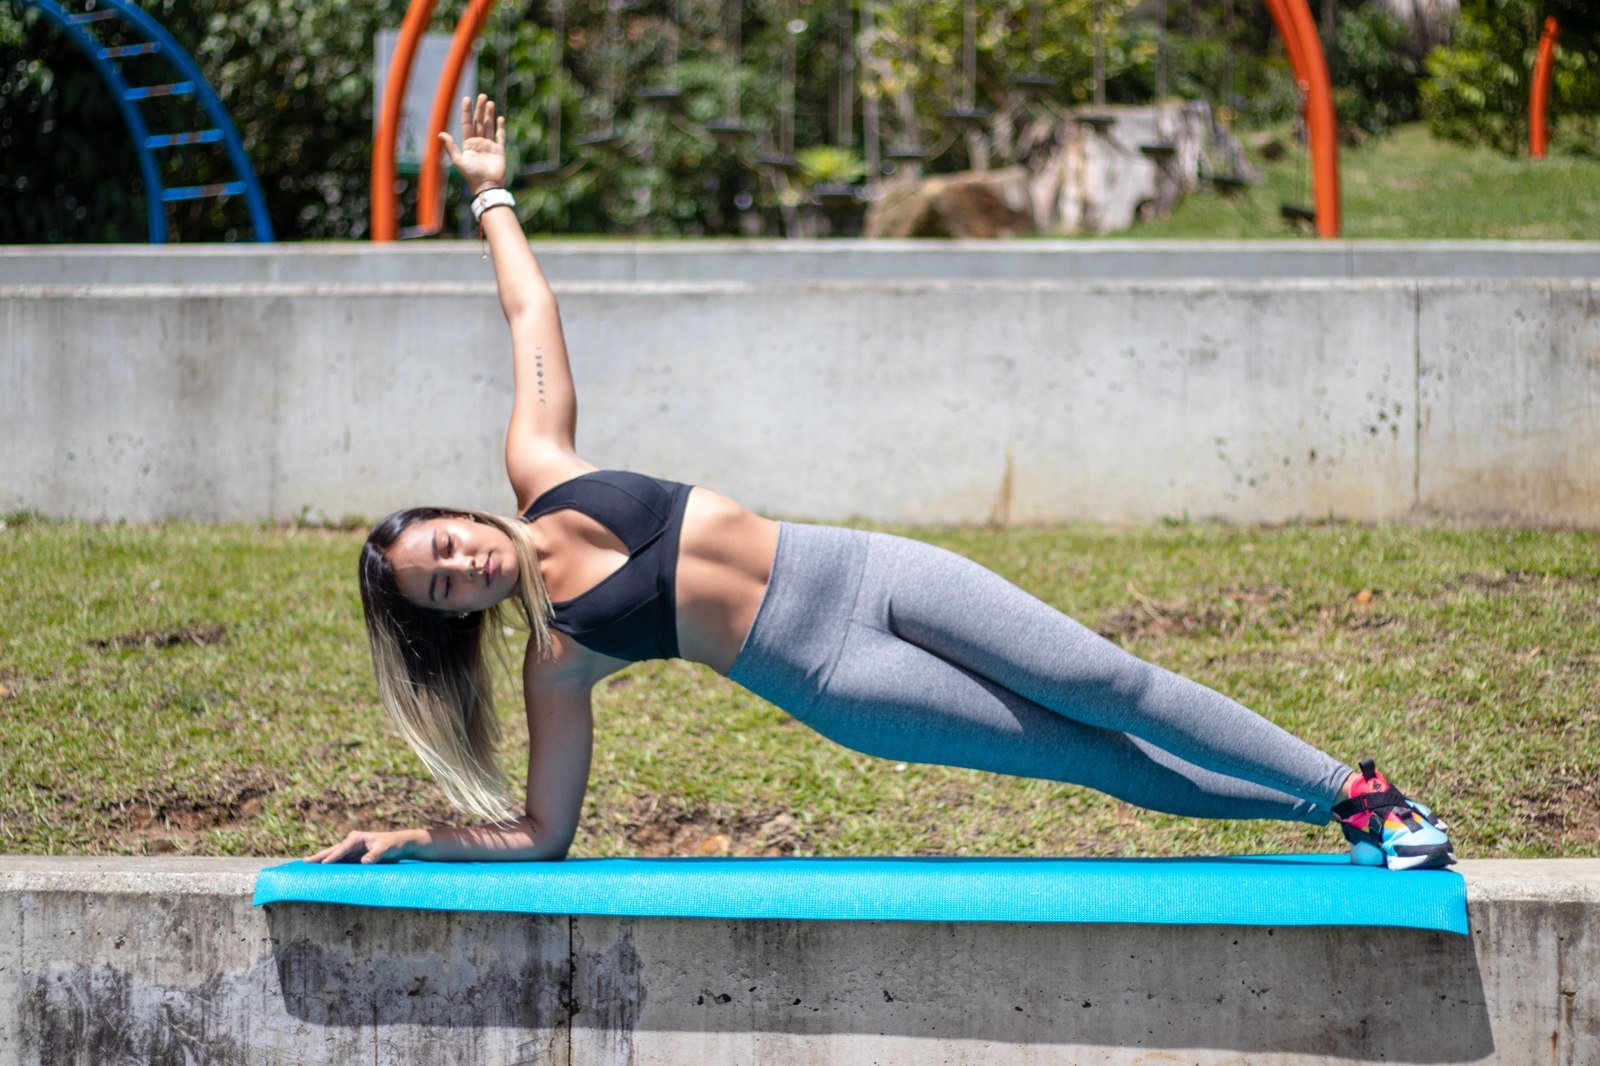
The side plank trains the muscles along your side and the shoulder that supports you. It is a quiet, controlled move, and balance is part of the challenge.
Lie on your side with your elbow under your shoulder and your legs stacked, or staggered if that feels steadier. Lift your hips until your body forms a straight line.
Keep your supporting shoulder steady and your top hand on your hip or reaching upward, whichever helps you balance. Hold for a short, controlled time, then switch sides.
If stacking your feet feels wobbly, stagger them or bend your bottom knee for extra support. A shorter, steady hold on each side is better than a long, twisting one.
Pairing planks with other core work helps overall steadiness. The site’s best abs workout guide has companion moves that sit well alongside this routine.
5. Dumbbell bicep curls (optional, if you have weights)
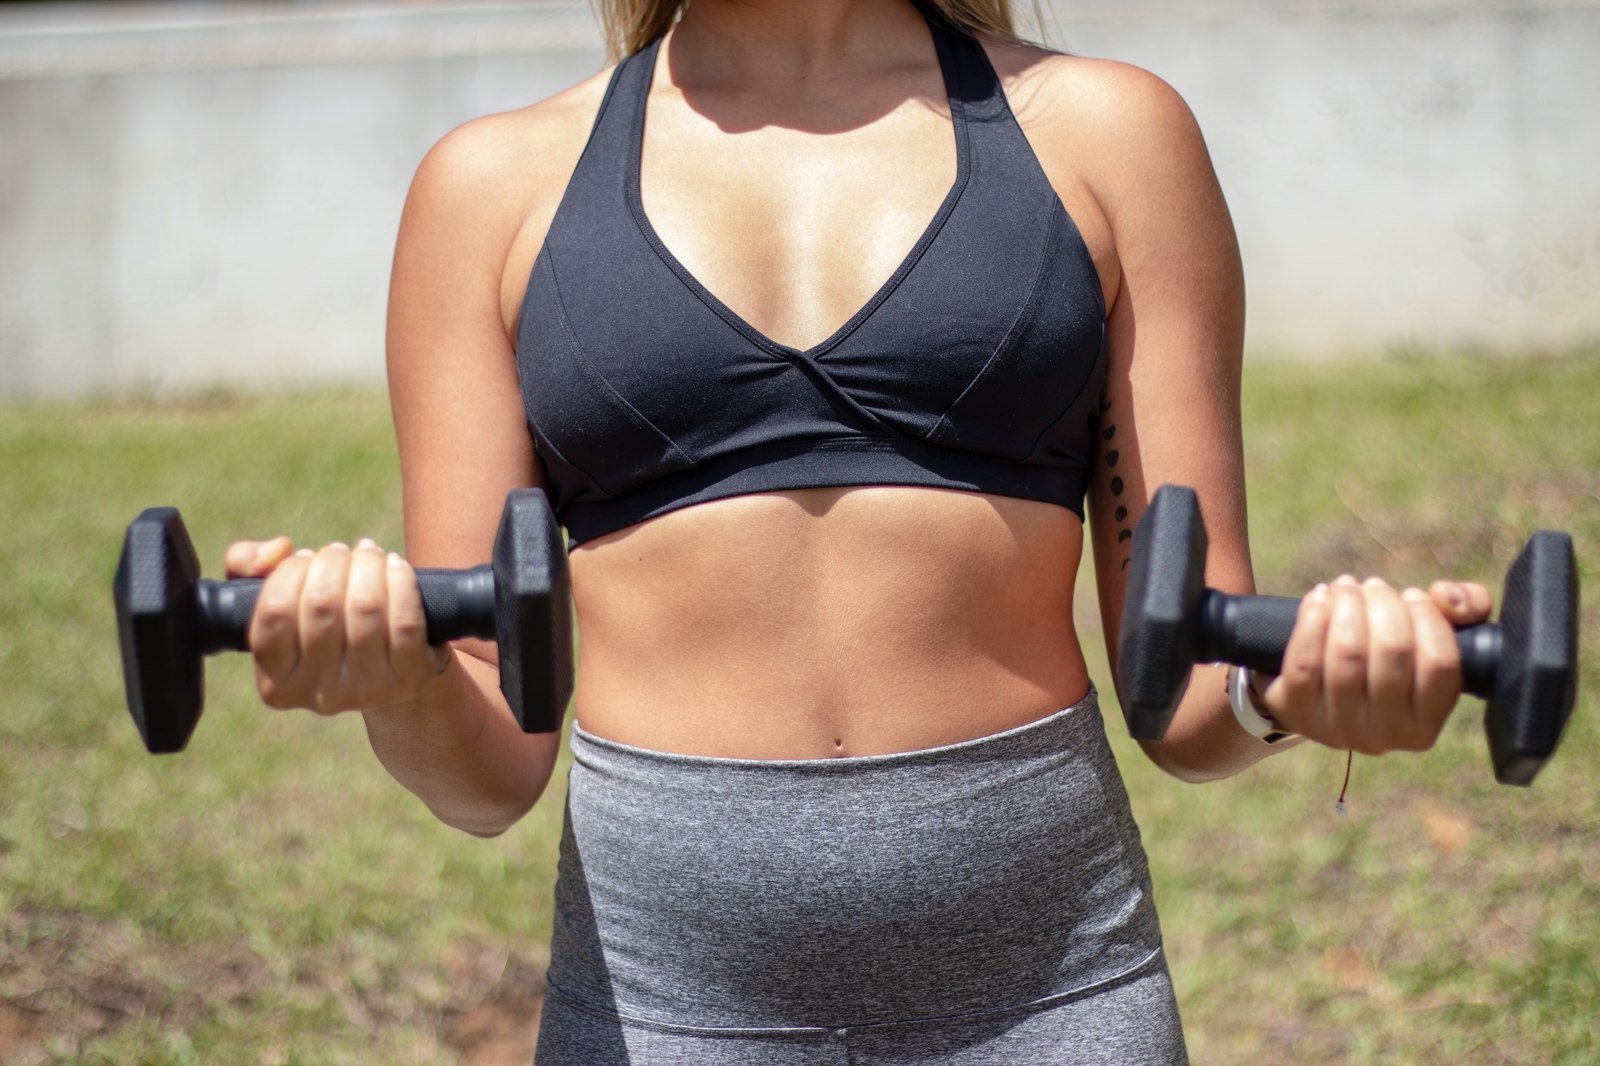
You do not need weights to follow this guide, but if you have light dumbbells, curls are a simple way to train the front of your upper arms. Choose a weight you can lift with control.
Stand tall with a dumbbell in each hand, arms by your sides and palms facing forward. Keep your elbows close to your body and your upper arms still.
Bend your elbows and lift the weights toward your shoulders, then lower them slowly back down. Avoid swinging your body or shrugging your shoulders to help the weights up.
If the last reps feel sloppy, the weight is too heavy for now. A lighter weight lifted cleanly builds more useful strength than a heavy weight lifted with momentum. No supplement or special product is needed for this move.
A simple weekly example
Here is one realistic way to fit the moves together. Treat it as an example to adapt, not a fixed prescription, and swap days to suit your week.
- Day 1: Push-ups, chair triceps dips and high plank, with rest between moves.
- Day 2: Rest, or a gentle walk and light stretching.
- Day 3: Side plank, dumbbell curls if you have weights, and push-ups again.
- Day 4: Rest, or a gentle walk.
- Day 5: Repeat your favourite three moves, focusing on clean form.
Walking, cycling, swimming or any movement you enjoy also helps. General activity supports overall health and fat loss far more than repeating one arm move alone.
Frequently asked questions
How long does it take to tone arms?
There is no honest fixed timeline. Strength often improves within a few weeks of regular practice, while visible change depends on overall body fat, eating, sleep, age and consistency.
Anyone promising toned arms in a set number of days is selling a timeline, not a result. Steady training over months is the realistic picture, and small, visible progress along the way is normal.
Can I tone my arms without weights?
Yes. The first four moves in this guide need no equipment except a sturdy chair for dips. Bodyweight training is enough to build strength, especially when you are starting out.
Weights are simply one way to add resistance later. They are optional, not a requirement, and good form matters more than heavy equipment.
What about loose skin on the upper arms?
Exercise builds the muscle underneath, but it does not guarantee that skin will tighten. Skin changes with age, weight changes and other factors that vary from person to person.
If loose skin bothers you or changes suddenly, talk to a clinician about your options rather than relying on an exercise claim. This guide makes no promise about skin tightening.
Do older adults benefit from arm training?
Yes, strength training is useful at any age, and many people start in their 50s, 60s and beyond. The same principles apply: start easy, use good form and progress gradually.
If you have a health condition, joint pain or a history of injury, get personal direction from a clinician or physiotherapist before starting a new routine.
The bottom line
You cannot target fat loss to your arms alone, but you can absolutely make your arms stronger. 💪 Push-ups, dips, planks and, if you like, curls cover the main arm muscles with very little equipment.
Train a few times a week, keep your form clean, move generally, eat in a balanced way and give it time. That steady combination is what builds firmer-looking, more capable arms.
This article is general information only and is not medical advice. If you have pain, an injury, a health condition or are pregnant, talk to a clinician or physiotherapist before starting a new exercise routine.