

A T-push-up is two moves joined into one smooth action. 💪
First you do a normal push-up. Then, at the top, you rotate your body to one side and lift your top arm, finishing in a side plank shaped like the letter T.
That rotation is what makes it a T-push-up. Without the push-up, the same rotated hold is a different move — the T-plank, covered in our plank progressions guide.
This guide sticks to the T-push-up itself. For the general benefits of ordinary push-ups, see our push-up benefits guide rather than repeating them here.
How to Do a T-Push-Up
Start in a high plank, hands under your shoulders and feet hip-width apart. 🧍
Keep your body in one straight line from head to heels, brace your stomach gently, and look at the floor so your neck stays neutral.
Lower yourself with control, elbows tracking back at roughly 45 degrees, until your chest is close to the floor.
Press back up to the high plank without letting your hips sag or pike up.
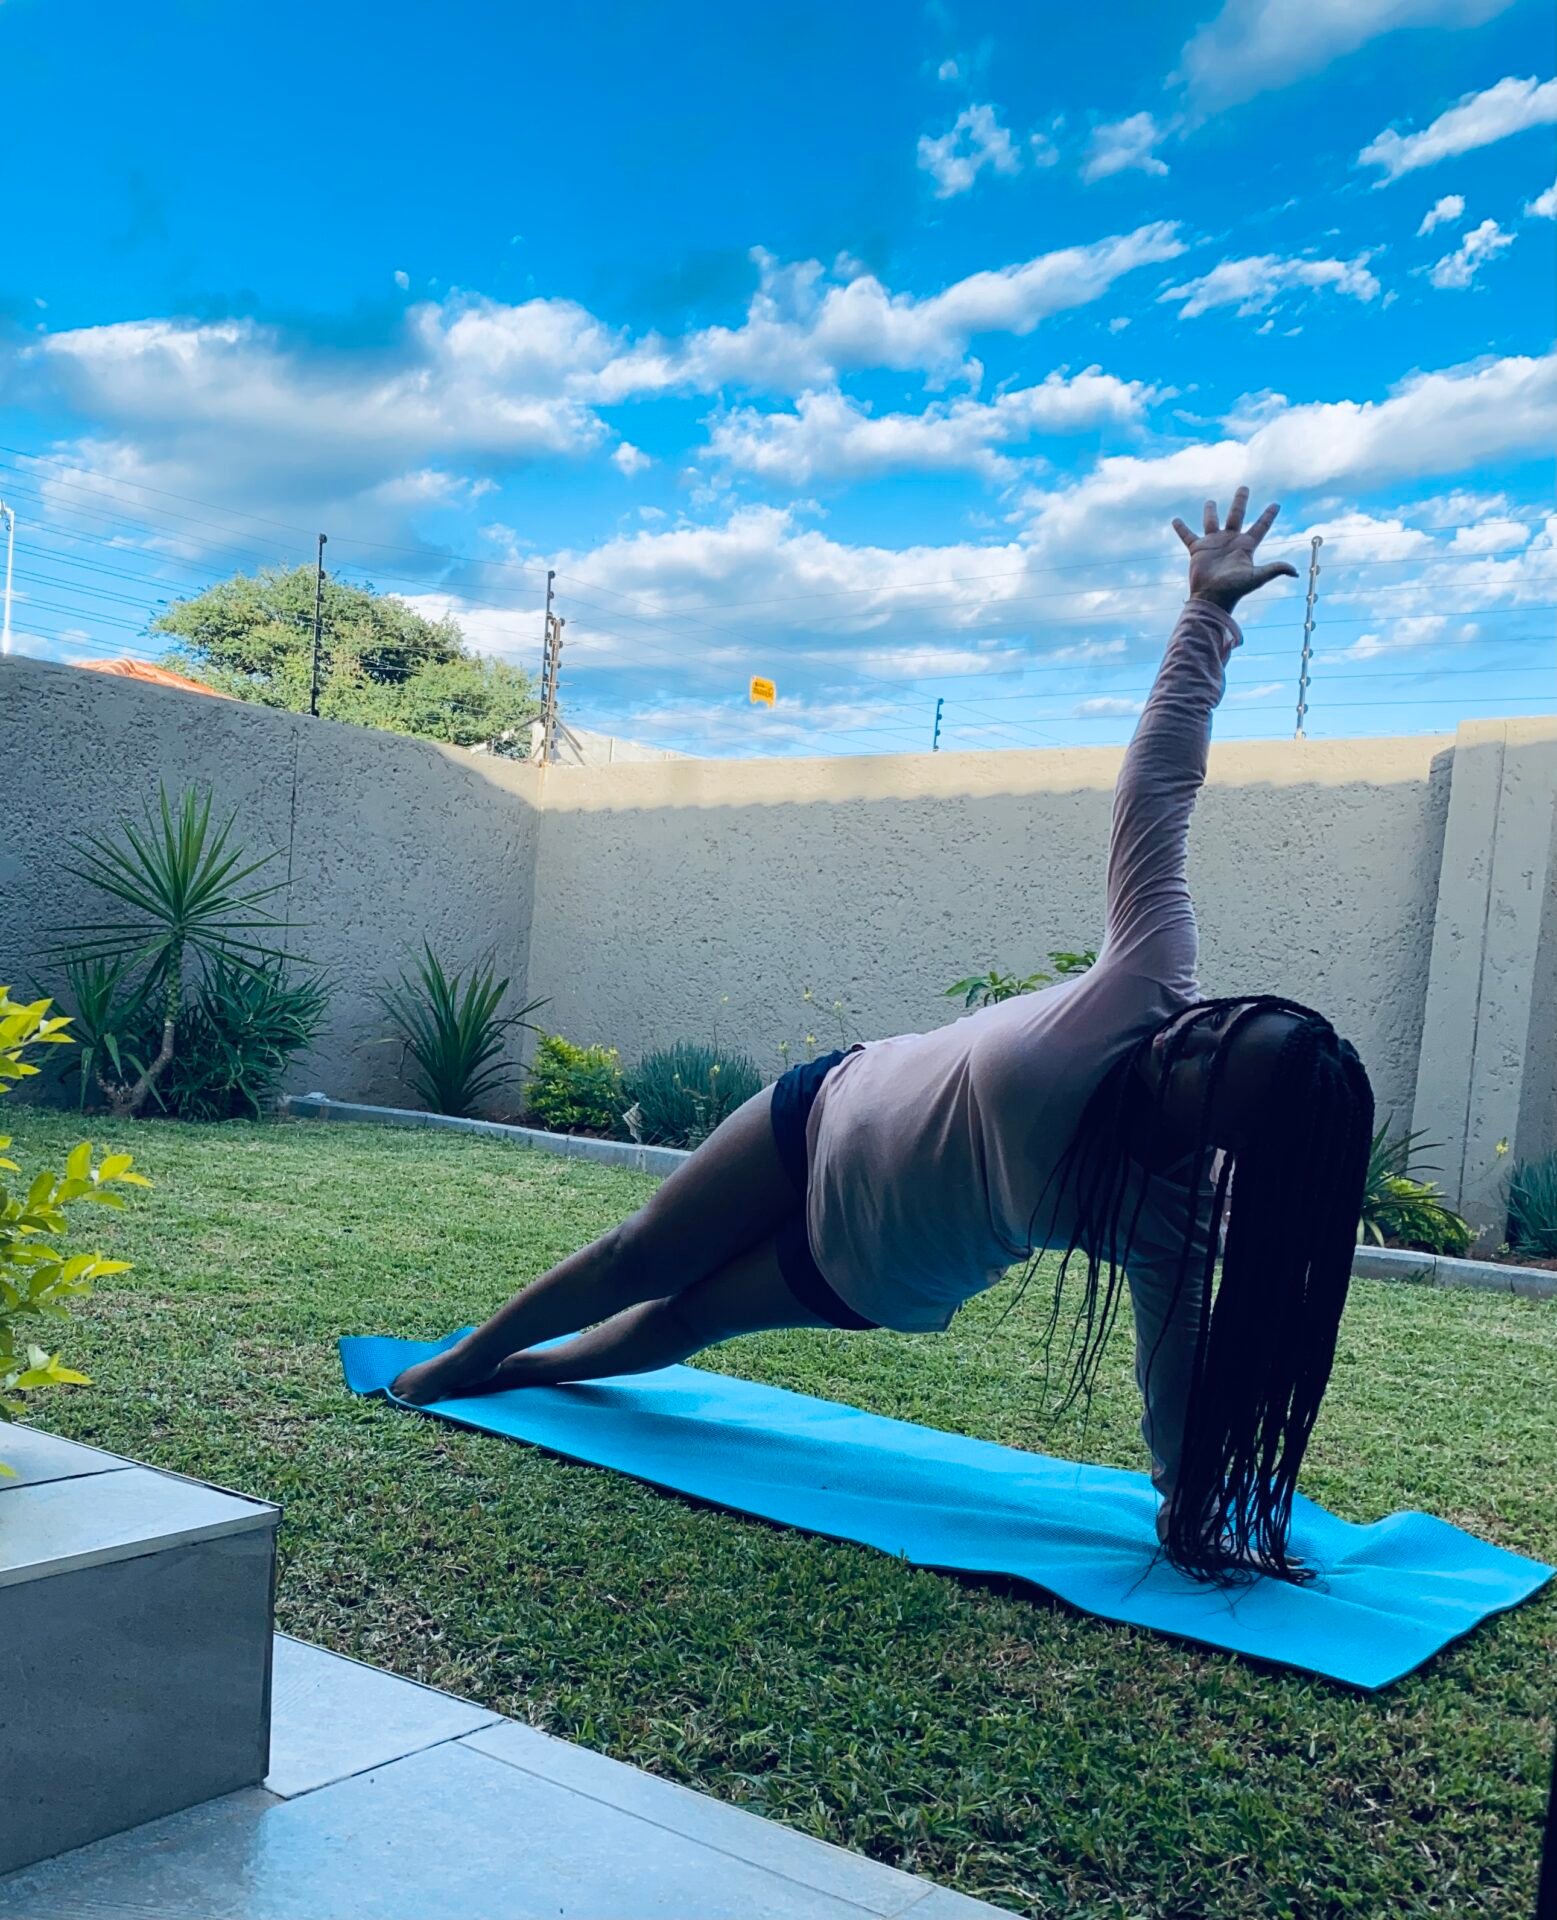
Now shift your weight onto one hand and pivot on your feet, rolling your body open to the side.
Raise your top arm straight toward the ceiling and lift your hips, so your body forms a T shape.
Pause briefly in that T position, then roll back to the high plank under control.
Do another push-up, then rotate to the other side. Alternate sides with each rep.
What It Works
The push-up half works your chest, shoulders and triceps, just like a standard push-up. 🏋️
The rotation half asks much more of your core, especially the obliques at the sides of your waist, which hold you steady in the side plank.
Your shoulders also work hard as stabilisers during the rotation, since one arm carries your weight while the other reaches up.
Think of it as a pressing move plus a balance challenge, not a shortcut to any single result.
An Easier Way In
If the full move feels wobbly, build it in two parts instead of forcing it. 🌱
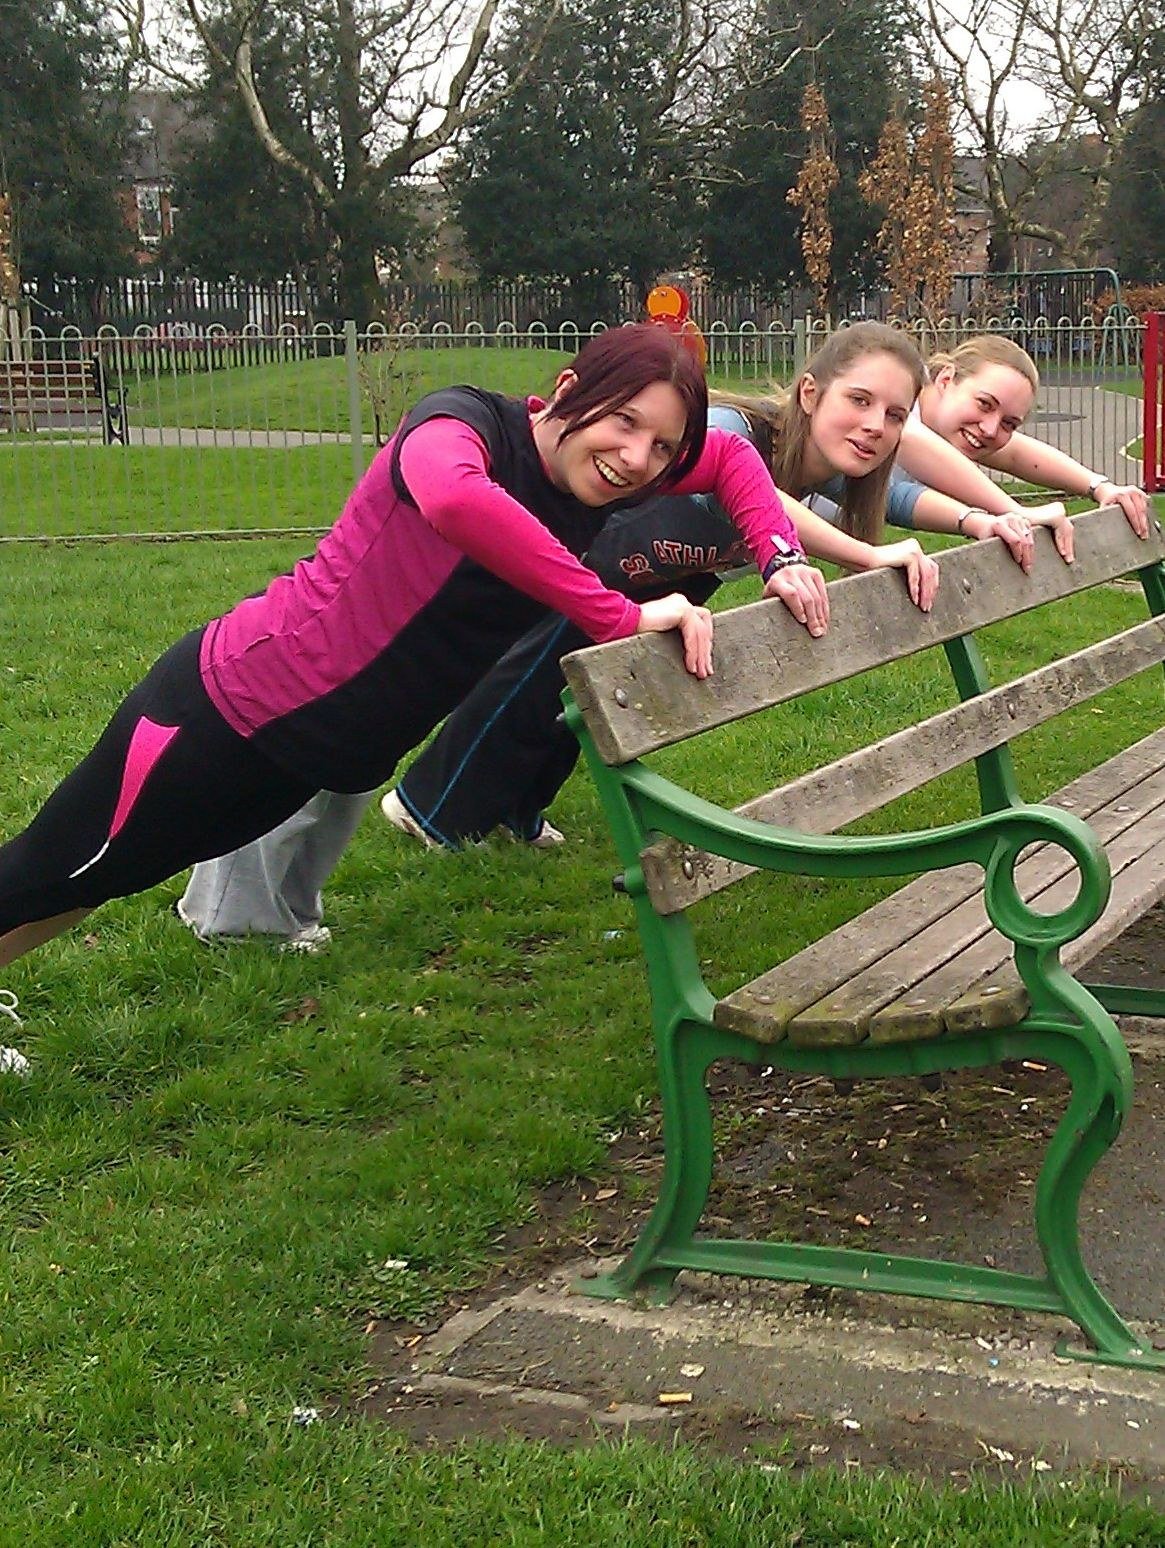
First, get comfortable with a solid standard push-up. If floor push-ups are too hard yet, raise your hands onto a bench or step for incline push-ups.
The higher the surface, the less of your weight you lift, so start high and lower the surface as you get stronger.
Second, practise holding a side plank on its own before adding it to a push-up.
Start on your forearm if the straight-arm version is too much, keep your hips lifted, and hold only as long as your form stays clean.
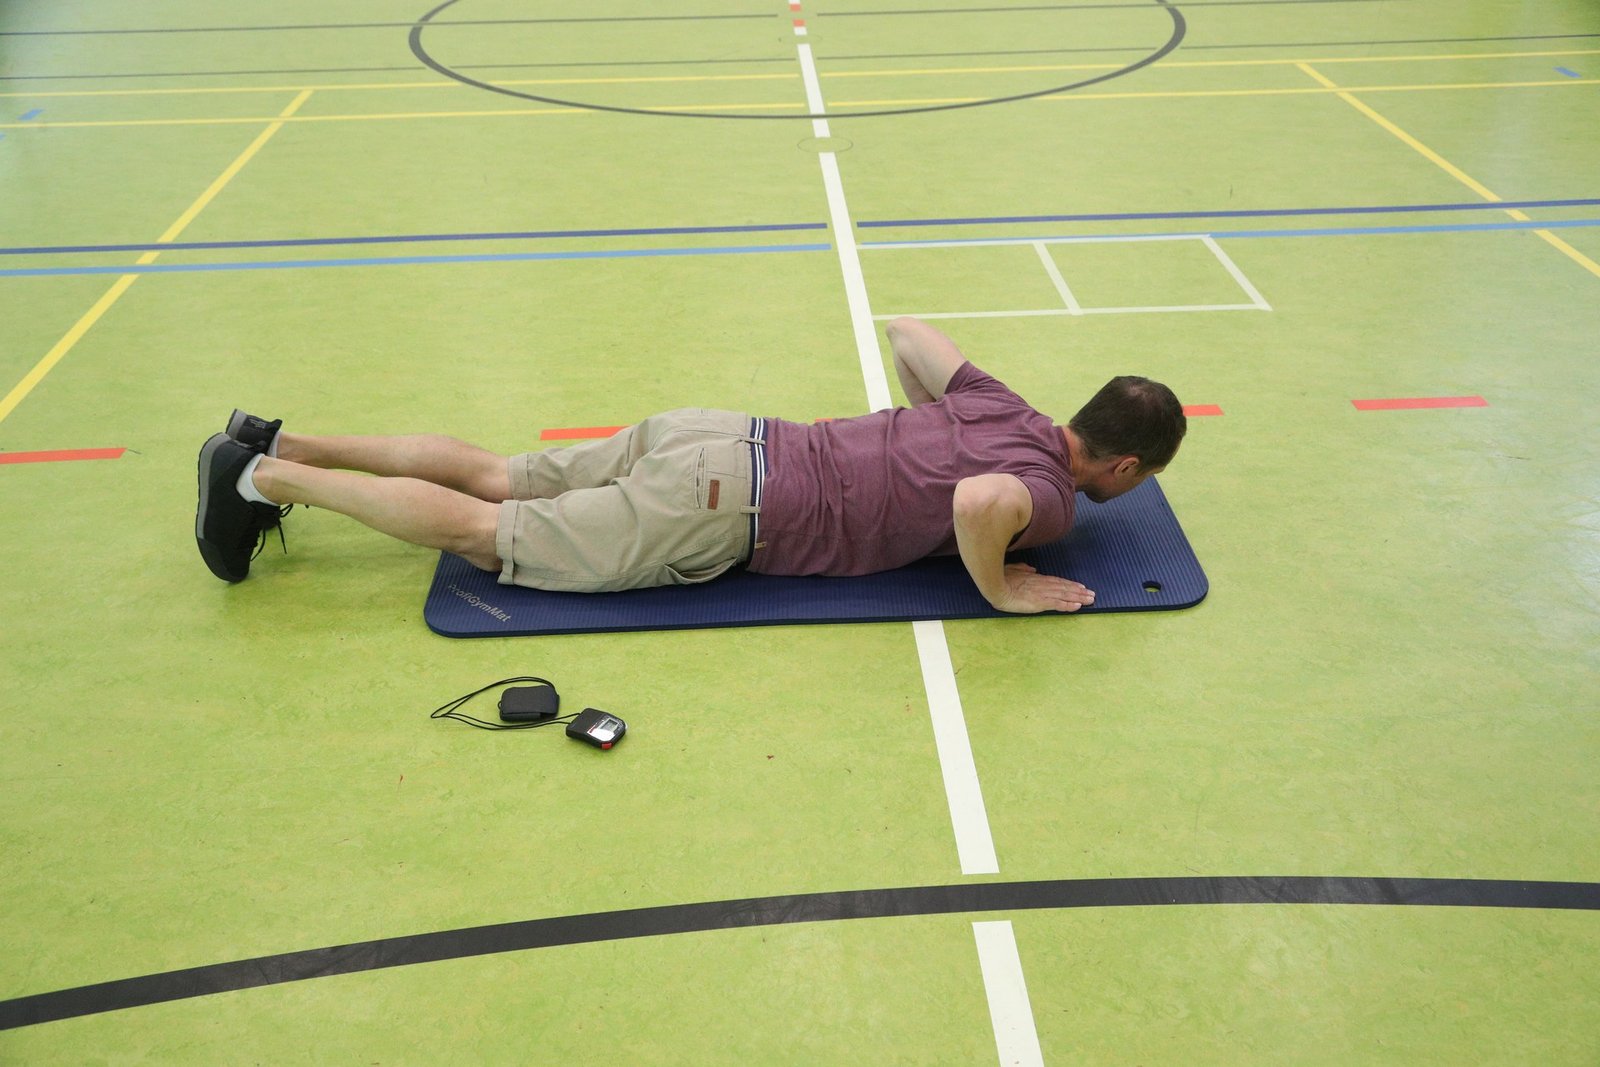
From your knees is another honest starting point: do the push-up from your knees, then rotate from there.
Only combine the two halves once each half feels steady on its own.
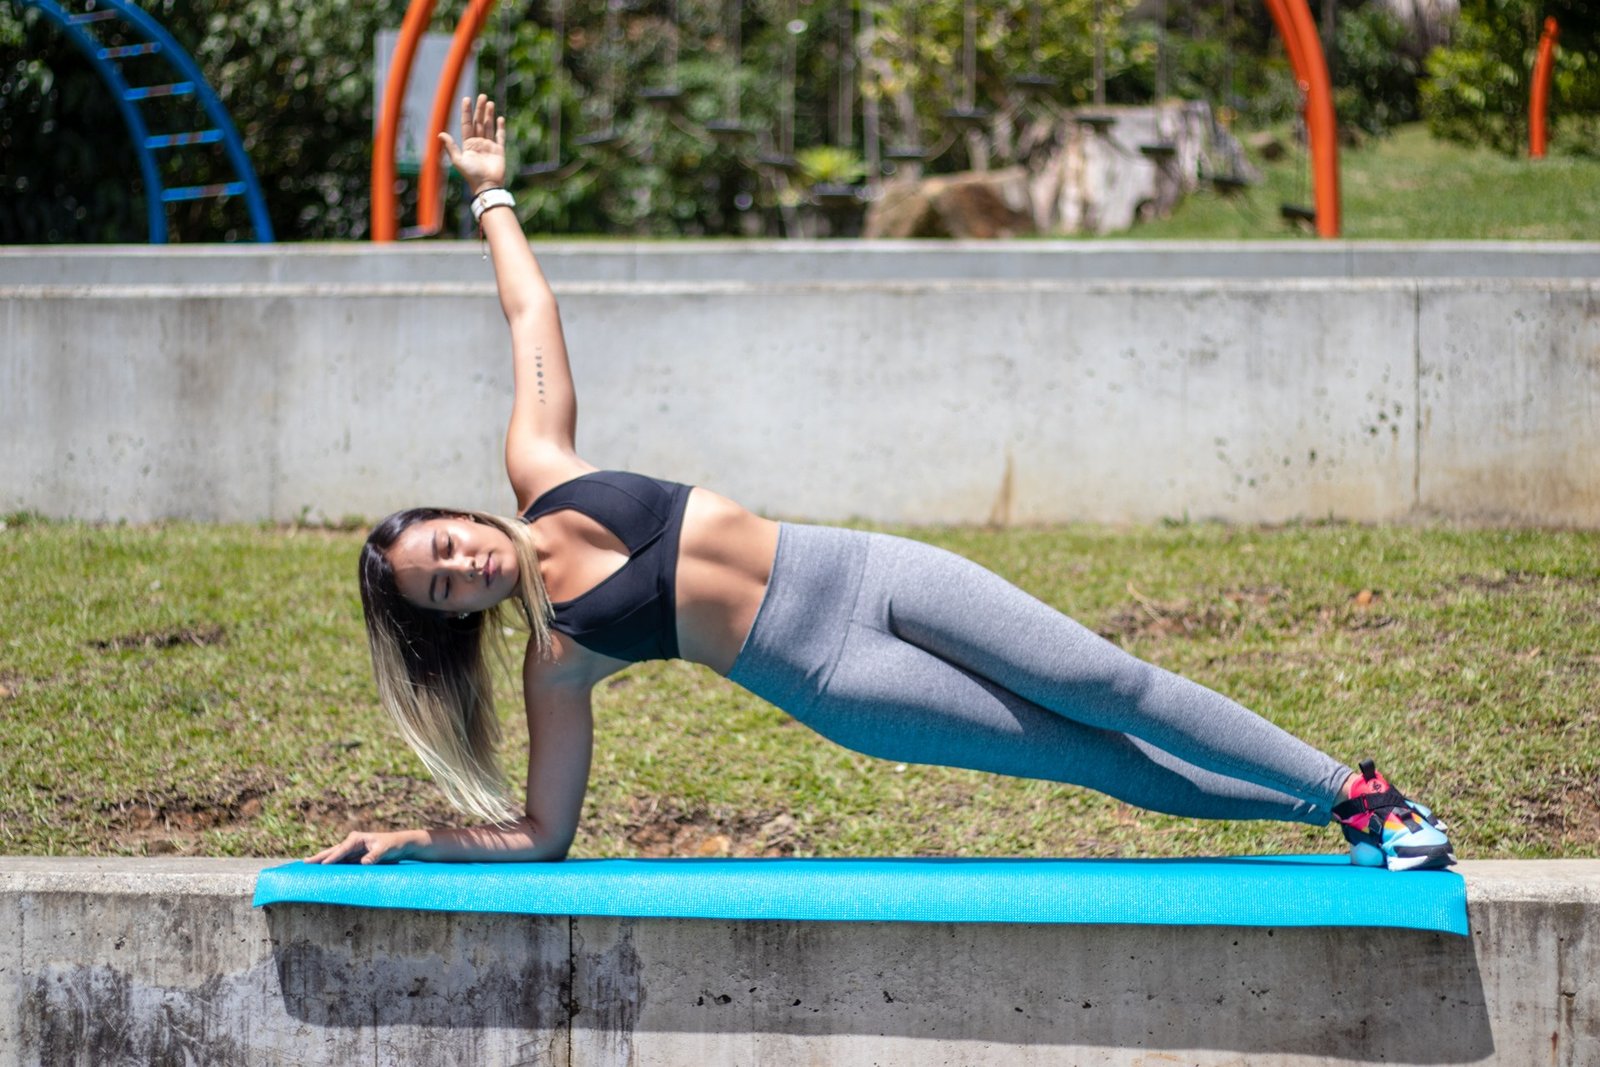
For more side-plank basics, see our plank variations guide, which covers the side plank hold in detail.
Common Mistakes to Avoid
Rushing the rotation is the most common fault. ⚠️
If you fling yourself sideways, your hips drop and your lower back takes over — slow the roll down and keep your hips lifted.
Letting your hips sag during the push-up is another one. End the set when your straight line goes, not after it has already gone.
Flaring your elbows wide puts extra strain on your shoulders, so keep them tracking back at roughly 45 degrees.
Twisting only from your lower back is also worth avoiding. Let your whole torso, hips and feet turn together as one unit.
Finally, do not shrug your supporting shoulder up toward your ear. Press the floor away and keep that shoulder settled.
Staying Safe
Warm up first with some easy movement and a few standard push-ups before trying the rotated version. 🛑
Your wrists and shoulders carry extra load in this move, so keep them comfortable. If they ache, switch to forearms for the plank half, use a raised surface, or stop and get advice.
Stop if you feel sharp pain, pinching, numbness, or pain shooting down an arm or leg. Muscle effort is normal; sharp pain is a stop sign.
If you have a wrist, shoulder or back problem, are pregnant, or have a health condition, check with a clinician or physiotherapist before starting.
This guide is general information only, not medical advice, and it promises no timeline, no visible abs, and no fat loss from one spot.
Build up gradually and let clean form, not a fixed number of reps, decide when you are ready for more.
FAQs
Is a T-push-up the same as a T-plank?
No. A T-plank rotates from a high plank into the T hold without any push-up. ❓
A T-push-up adds a full push-up before every rotation, which is why it is the harder of the two.
Does my chest have to touch the floor?
Not exactly. Lower until your chest is close to the floor with your elbows under control. ✅
Depth matters less than keeping your body in one straight line and your shoulders comfortable.
How do I progress without a fixed programme?
Start with the easier versions above and add difficulty only when your form stays clean. 📈
Move from knees or incline to full floor reps, then from a staggered-foot finish to stacked feet, one small step at a time.
For the wider push-up picture, our push-up training guide covers how push-ups fit into a routine.