

The short answer: start small, build slowly 💪
There is no single magic number of push-ups that suits every beginner.
Your starting point depends on your current strength, your joints, and how clean your form stays when you get tired.
A sensible place for most healthy beginners is a small, comfortable total across a few sets, a few days a week — not a daily maximum chased at all costs.
If you can only do a few good reps, that is a real start. Good form beats a big number every time.
A sensible starting range — not a rule
As a rough, hedged starting range, many beginners find 2–3 sets of 5–10 comfortable reps, on 2–3 non-consecutive days a week, a workable first step.
That is a guide to try, not a prescription. Some people will need to start lower, and that is fine.
Stop a set while you can still keep your body in a straight line. When your hips sag, your shoulders shrug up to your ears, or your lower back starts to ache, the set is over.
Add reps slowly — for example, one or two extra reps per set over a week or two — rather than doubling your total overnight.
There is no promise attached to any number here. Consistency and form matter far more than hitting a round daily total.
Start easier: the progression that actually works
The easiest way to begin is to make the push-up lighter, not to force floor reps you cannot control.
Start at the step where you can do controlled reps with good form, then move to a harder step only when the current one feels comfortable.
Wall push-ups are the gentlest first step. Stand facing a wall, hands flat on it at about shoulder height, feet stepped back, and bend your elbows to bring your chest towards the wall with control.
Stepping further from the wall makes it a little harder. Moving your hands to a lower, sturdy surface is the next step up.
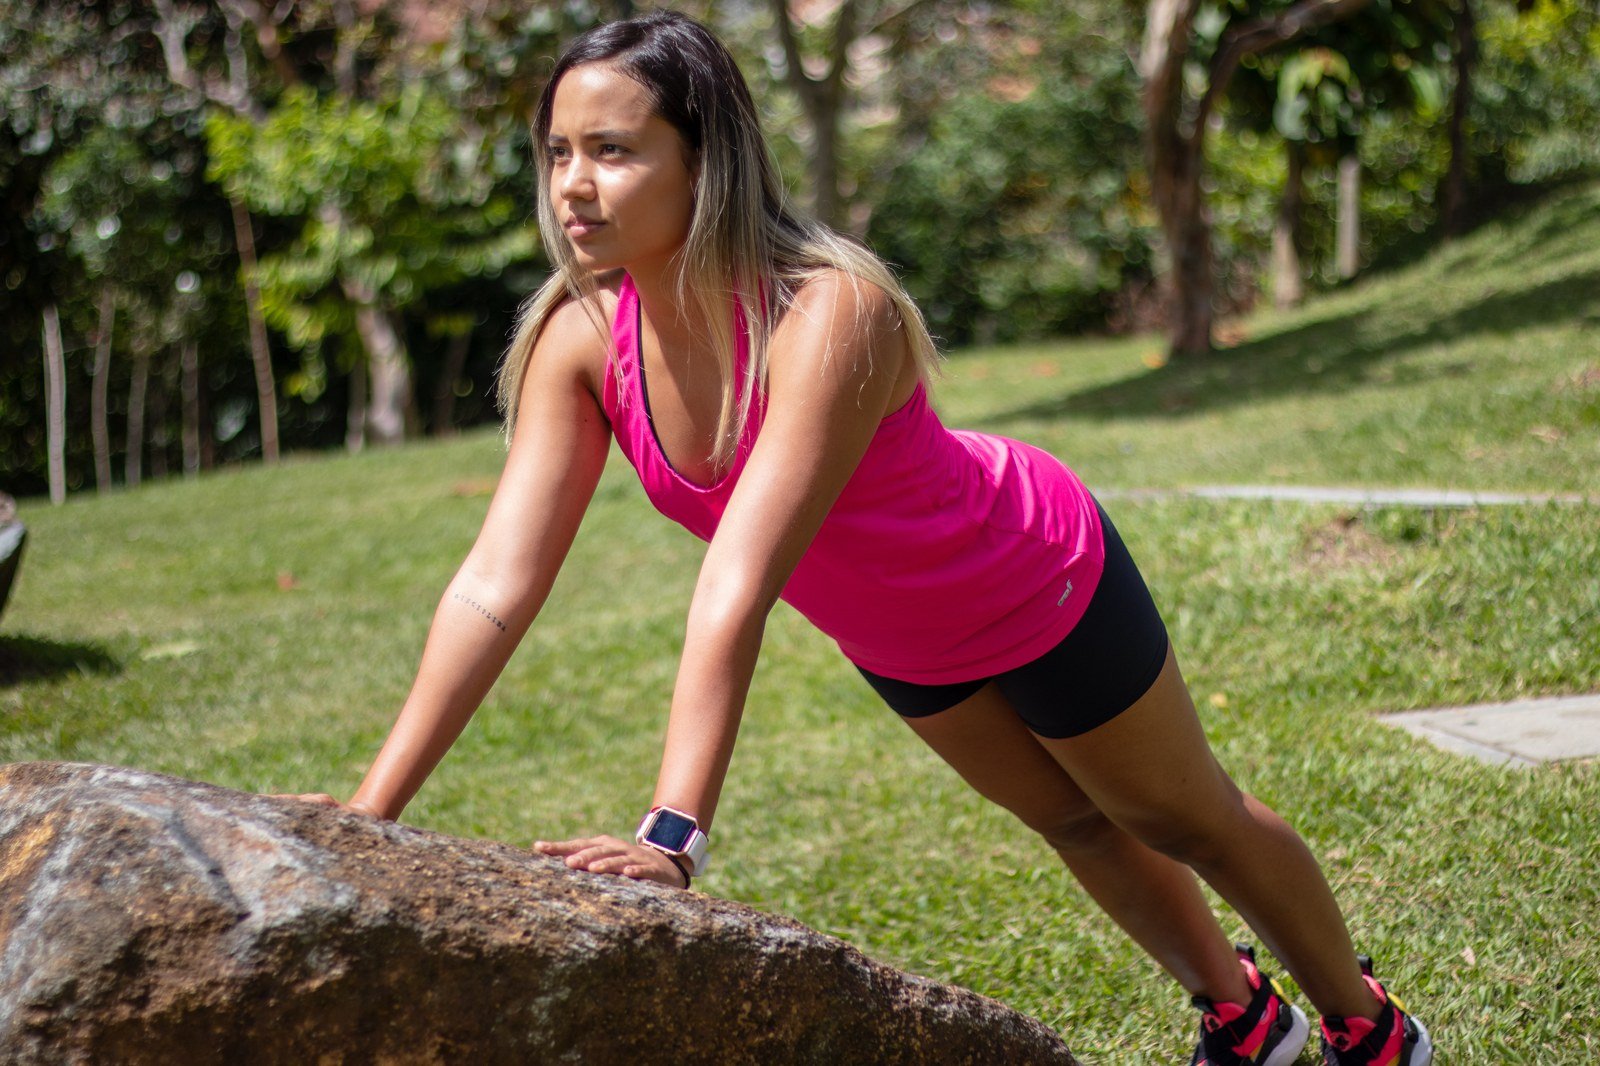
Incline push-ups — hands on a sturdy bench, counter or, as pictured, a rock — sit between wall push-ups and the floor. The higher your hands, the easier the rep tends to feel.
Use a surface that cannot slide or tip. A wobbly chair or a loose bench is not a good choice, however tempting it looks.
Knee push-ups come next for many beginners. Kneel with your hands on the floor, keep a straight line from your head to your knees, and lower your chest with control.
Put a folded towel or mat under your knees if the floor is hard. Comfort helps you focus on the movement instead of your knees.
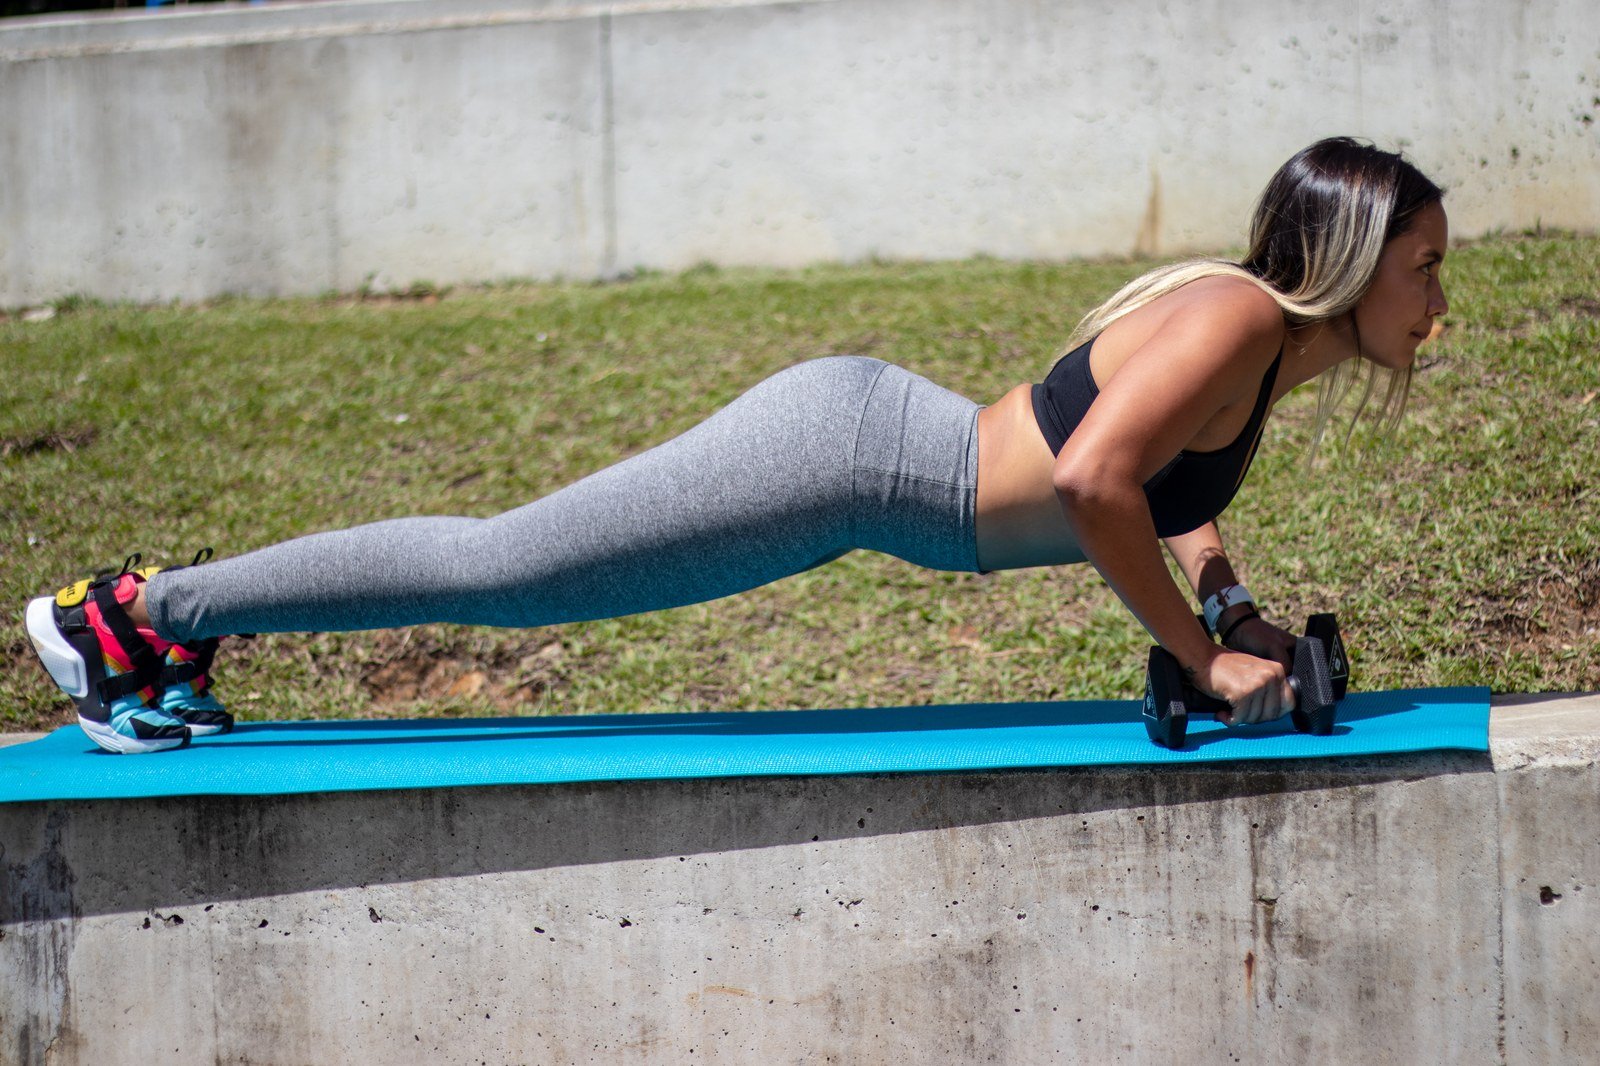
One honest note about pictures: this section describes wall and knee push-ups in words, but no verified freely licensed photo of a wall push-up or a knee push-up was found for this refresh, so no photo here is labelled as either one. The pictures in this section genuinely show incline push-ups, and the standard floor push-up pictured later is exactly that.
From knee push-ups, try slow lowering reps from the full floor position: lower yourself slowly, then reset from your knees and repeat. That bridge step helps many people reach their first full floor reps.
Form cues that matter more than the count
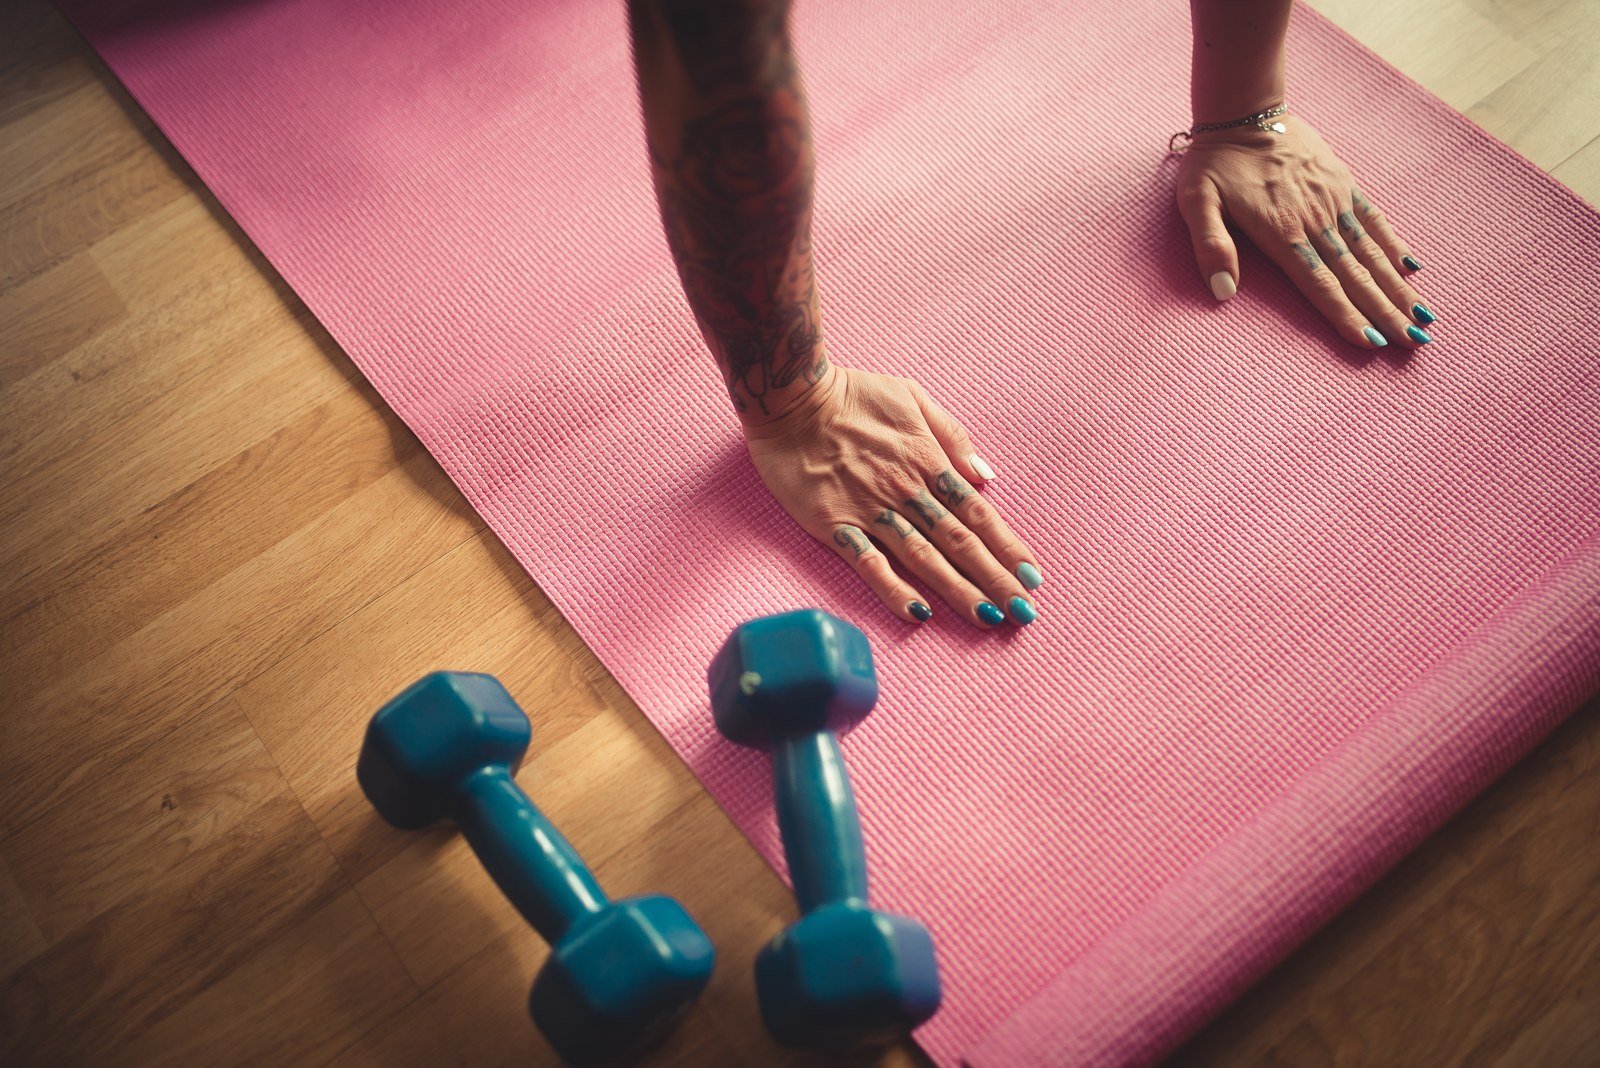
Set your hands a little wider than your shoulders, fingers pointing forward, and keep your body in one straight line from head to heels (or head to knees for knee push-ups).
Brace your stomach gently, squeeze your glutes, and keep your neck in line with your spine. Staring at the floor just ahead of your hands usually helps.
Lower with control, pause briefly at the bottom if you can, and press back up without locking your elbows hard at the top.
If your wrists hurt, try turning your hands slightly outwards or using a slightly higher hand position — and stop if the pain is sharp. Wrist discomfort is covered in the “when to stop” section below.
How often, and why rest days count 🛌
Beginners usually do better with push-ups on 2–3 non-consecutive days a week than with a hard session every single day.
Muscles need time to recover between hard sessions, and soreness the day after a first session is normal. A rest day is part of the plan, not a failure.
This fits the broad public-health pattern used by major health bodies, which point adults towards muscle-strengthening activity on at least two days a week, covering the major muscle groups.
That guideline is about overall activity, not a push-up target. Treat it as background, not as a reason to train through pain.
On rest days, a walk, gentle stretching or simply doing nothing strenuous is a perfectly good choice. You do not need to “make up” missed push-ups the next day.
When to stop — and when to get advice ⚠️
Effort is normal: your chest, shoulders and arms should feel worked, and the last rep of a set should feel challenging.
Pain is different. Stop if you feel sharp pain in your shoulder, wrist, elbow or back, clicking that hurts, numbness or tingling, dizziness, or chest pain.
If you have a shoulder, wrist or back issue, a recent injury, or a health condition, get direction from a coach or clinician before starting — this article is general information only and cannot replace that advice.
Soreness that fades in a day or two is common when you start. Pain that lingers, gets worse, or changes how you move is a reason to rest and seek advice.
A simple 4-week starting plan (illustrative only)
Pick the step you can already do with good form, and use this only as an illustration of slow progress — adjust it to your own level.
Week 1: 2–3 sessions, 2 sets of comfortable reps at your chosen step, with at least one rest day between sessions.
Week 2: keep the same step, and add a third set if your form still holds. Rest as long as you need between sets.
Week 3: if every set feels comfortable, try the next step down the ladder for one set, and keep the easier step for the rest.
Week 4: reassess honestly. If the harder step still breaks your form, stay where you are for another week or two — that is progress, not stalling.
What push-ups alone will not do
Push-ups mainly work your chest, shoulders, triceps and core. They are not a full-body programme on their own, and they will not by themselves change your body composition.
For the fuller picture on what push-ups can and cannot do, see our Benefits of Doing Push-Ups (2026) guide — and for the honest limits, our How to Get Ripped with Push-Ups (2026) guide.
This article deliberately does not repeat those angles. Its job is narrower: how many to start with, and how to build up safely.
When you are ready for more variety, our 5 Push-Up Variations (2026) guide covers harder options — but there is no rush to get there.
Frequently asked questions ❓
Should I do push-ups every day as a beginner?
Not necessarily. Most beginners recover better with rest days between sessions, especially at first.
Daily practice can work later at a very easy level, but “every day without rest” is not a rule — and pushing through soreness or pain usually slows you down.
Are knee push-ups “real” push-ups?
Yes — they are a recognised easier version, not cheating. They let you practise the pressing movement with less load while you build strength.
Many coaches prefer incline push-ups for learning the full-body line, but knee push-ups remain a useful step, especially where space is limited.
How long until I can do a full floor push-up?
There is no fixed timeline, and anyone promising one in a set number of weeks is guessing about your body.
Some beginners get there in a few weeks; others take a few months. Steady, well-formed reps at an easier step get you there faster than rushed, sloppy floor reps.
Push-ups or pull-ups — which should a beginner start with?
Push-ups are usually the easier starting point because they need no bar and the load can be reduced with a wall or incline.
For a side-by-side comparison, see Push-Ups vs Pull-Ups, and when you want to work towards a first pull-up, our Pull-Ups (2026) guide lays out a similarly gradual path.
General information only: this article is not medical advice. If you have shoulder, wrist or back issues, or any health condition, speak to a qualified coach or clinician before starting a new exercise routine.