

A speed parachute is the simplest sprint-resistance tool in the home gym — a cloth chute, a belt, and your own two legs. No motor, no screen, no subscription. Just short sprints against air drag, for as long as your form holds out. 🏃
Clip it on, sprint, feel it open behind you, repeat. The chute’s size decides the drag, its belt decides whether it stays put, and its release decides whether you can switch to full speed mid-drill.
But let us be plain from the start: a parachute adds sprint resistance and acceleration work, but it does not build speed by itself, it does not prevent injury by itself, it does not replace progressive training, and it does not make a snagged or tangled chute safe.
Used the right way — the right size for your speed, laid out flat, checked before every session, progressed slowly — a parachute is one of the cheapest ways to add real resisted sprinting to a home gym.
How We Picked These Speed Parachutes
Photo: Taco fleur / Wikimedia Commons
This guide is research-based. We did not buy or hands-on test these parachutes, and we do not claim otherwise.
We compared verified buyer reviews and manufacturer specifications, and we checked each product’s Amazon listing status through search results and listing trackers.
We picked 6 parachutes that are genuinely sold and cover different needs: a best-overall coaching chute, a dual-chute best-seller, a budget best-seller, a youth-friendly compact chute, a classic 48-inch chute, and a quick-release chute.
Prices are not quoted in this guide because they change often. The check-price links take you to the current listing, where you can see the latest price and availability.
Availability and size options vary, so if your option shows as unavailable, check the listing’s other options before switching products.
One note before we start: drag figures are the least trustworthy numbers in this guide. Resistance grows with your speed, so a chute’s stated pounds mean little without the speed behind them — read the size and drag section before you trust any single number.
Quick Comparison
Photo: GymNation / Wikimedia Commons
| Parachute | Size | Key feature | Best for |
|---|---|---|---|
| SKLZ Speed Chute | 54 in | Quick-release buckle, 360° belt | Best overall build |
| KUYOU Speed Chute | 56 in × 2 | Dual chutes, Amazon’s Choice | Best dual chute |
| Bfsmile Training Parachute | 56 in | Adjustable belt, carry bag | Best budget |
| BULLETSHAKER Running Parachute | 48 in | Compact, 360° belt | Best compact / youth |
| Sports Power Running Chute | 48 in | Overspeed release | Best classic 48-inch |
| JAWKU Speed Parachute | Standard | Quick-release, 360° belt | Best quick-release |
1. SKLZ Speed Chute, 54 Inches — Best Overall Build
Photo: Wikimedia Commons
Who it suits: athletes who want one trusted, no-fuss chute for acceleration and top-speed work, from a coaching brand coaches already know.
SKLZ’s Speed Chute is a 54-inch nylon chute with a 2-inch heavy-duty nylon belt that rotates 360 degrees, a quick-release buckle, and built-in mesh panels that help stabilise the chute and keep its strings from tangling. It packs into an included training bag, and the belt fits waists up to about 42 inches.
The quick-release buckle is the honest difference here: unclip mid-drill and the chute drops away, so a resisted sprint becomes a full-speed sprint in one motion — the overspeed burst coaches actually want. Sources disagree on the drag figure, with some listing about 15 pounds and others up to 30, which tells you what drag figures are worth: resistance grows with your speed, so treat any single number as approximate.
Pros: 54-inch chute with mesh stabilising panels; 360-degree rotating belt for movement in any direction; quick-release buckle for overspeed bursts; adjustable heavy-duty nylon belt; long-running coaching brand with heavy buyer feedback; packs into an included bag.
Cons: one fixed size and one resistance level — no dual-chute option for heavier drag; 54 inches is more drag than a beginner may want on day one; premium build at a higher cost than the budget chutes here.
2. KUYOU Speed Chute, 56 Inches (Dual) — Best Dual Chute
Photo: Rodhullandemu / Wikimedia Commons
Who it suits: athletes who want the heaviest honest drag here — two chutes at once — at a best-seller’s price.
KUYOU’s speed chute bundles two 56-inch chutes with one waist belt and a carrying bag, sold by KUYOU Sports and flagged as Amazon’s Choice, with hundreds of purchases in a recent month behind it. The chutes are polyester with mesh, described as waterproof and quick-drying, and the listing carries a one-year warranty.
Dual chutes are the honest advantage here: one chute gives moderate drag, two give a genuinely heavy pull, and you can run one chute alone on lighter days — two resistance levels from one purchase. Listed drag figures vary by source, with roundups quoting roughly 25 to 50 pounds for the pair, so treat the top end as a fast-sprint figure, not an everyday one.
Pros: two 56-inch chutes in one purchase for two resistance levels; Amazon’s Choice with a very large buyer base; polyester-and-mesh construction, waterproof and quick-drying; one-year warranty; carrying bag included; belt adjusts to most athletes.
Cons: two chutes mean twice the tangling to check before each session — lay both out flat, every time; the pair’s drag is heavy for beginners, so start with one chute; listed drag figures vary by source, so do not trust a single number.
3. Bfsmile Training Parachute, 56 Inches — Best Budget
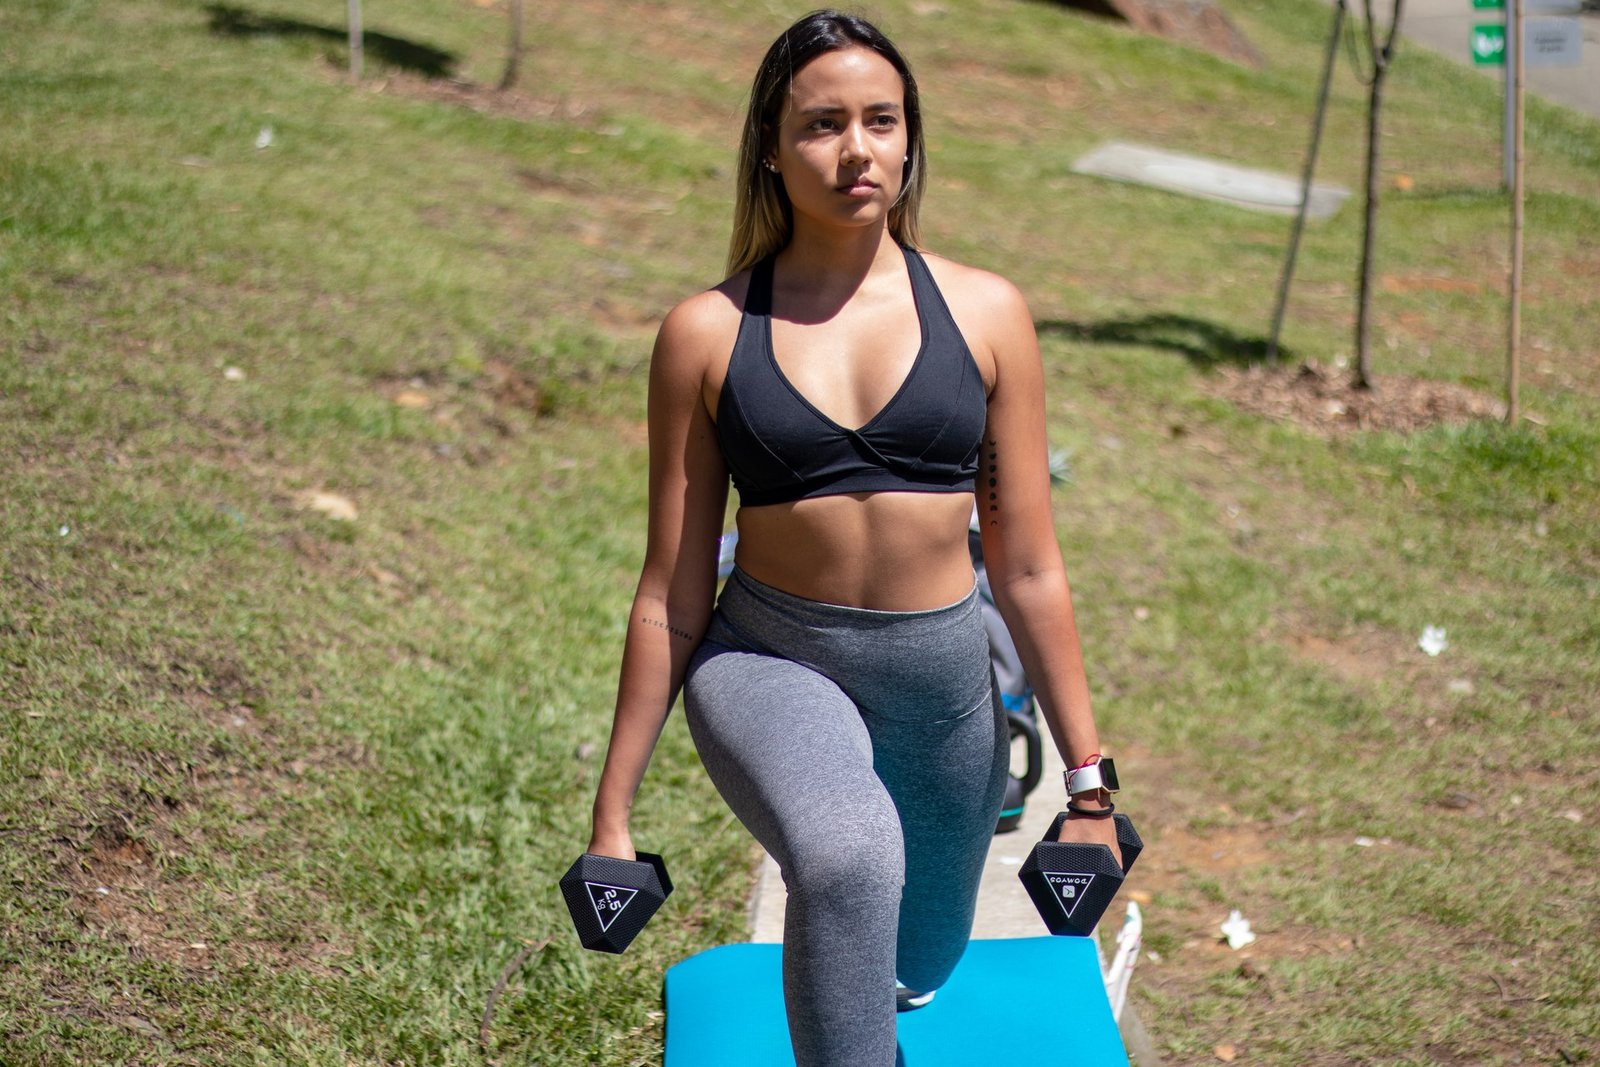
Photo: Tyler Read / Wikimedia Commons
Who it suits: athletes who want the cheapest honest chute for sprint resistance, and who do not mind a budget brand to get it.
Bfsmile’s training parachute is a 56-inch polyester chute with an adjustable waist belt fitting roughly 20 to 42 inches, a free carrying bag, and a stated resistance of about 12 to 33 pounds depending on speed. It suits track and field, football, soccer, basketball, skating, and any sport that needs explosive acceleration work, and it carries a strong buyer rating from over 2,000 reviews.
The price is the point here: a full-size 56-inch chute for less than a gym day pass, with a belt that fits children, teens, and adults alike. The trade is the usual budget one — a lighter build than the SKLZ chute, and a listing whose brand appears under two names (ANPOPO and Bfsmile), so confirm the listing matches the 56-inch chute before ordering.
Pros: cheapest full-size approach here; 56-inch chute with about 12 to 33 pounds of speed-dependent resistance; adjustable belt from about 20 to 42 inches; free carrying bag; strong buyer rating from over 2,000 reviews; suits most field sports.
Cons: the listing appears under two brand names (ANPOPO and Bfsmile), so confirm the listing matches the 56-inch chute; budget construction will not outlast the premium chutes under daily team use; no quick-release buckle is listed, so overspeed drills need a manual unclip.
👉 Check price on Amazon (confirm the listing matches the 56-inch Bfsmile chute — the listing appears under two brand names).
4. BULLETSHAKER Running Parachute, 48 Inches — Best Compact / Youth
Photo: Akhlispurnomo / Wikimedia Commons
Who it suits: younger athletes, smaller runners, and anyone training on a short strip who wants a lighter, compact chute.
BULLETSHAKER’s running parachute is a 48-inch polyester chute with a belt that rotates 360 degrees, so you can sprint in any direction, a stated resistance of about 15 to 20 pounds, and a handy carrying bag. It is marketed for kids and youth soccer and football training, with a buyer rating above 4 stars from over 550 reviews.
Compact is the honest advantage here: a 48-inch chute opens faster, drags less, and needs less room behind you than a 56-inch chute, which suits younger athletes and shorter sprint strips. The trade is drag — 15 to 20 pounds will not challenge a strong adult sprinter the way a 56-inch or dual chute will, so treat it as a starter chute, not a final one.
Pros: compact 48-inch chute that opens fast and needs less room; 360-degree rotating belt; about 15 to 20 pounds of resistance, well judged for youth and beginners; carrying bag included; low cost; strong youth-sport buyer base.
Cons: 48 inches gives less drag than the 56-inch chutes here, so advanced sprinters will outgrow it; no quick-release buckle is listed; budget polyester construction, so check seams and strings before every session.
5. Sports Power Running Chute, 48 Inches — Best Classic 48-Inch
Photo: Wikimedia Commons
Who it suits: athletes who want the classic overspeed chute — the one that releases mid-sprint — at a budget price.
The Sports Power running chute is a 48-inch chute made from parachute cloth and netting, with a belt fitting waists up to about 42 inches, a stated resistance of about 15 to 20 pounds, and a release design: the chute lets go while overspeeding, so a resisted sprint becomes a free sprint without stopping. It is a long-running generic listing, and the same 48-inch design appears across many budget brands.
The release is the honest difference here: most budget chutes stay attached for the whole sprint, while this design drops away at speed, which is exactly how overspeed training is meant to work. The trade is the generic listing itself — the brand name is thin, the listing is old, and quality varies between production runs, so inspect the chute on arrival before trusting it at full speed.
Pros: classic 48-inch design with an overspeed release; about 15 to 20 pounds of resistance; fits waists up to about 42 inches; parachute cloth and netting construction; low cost; long-running listing.
Cons: generic branding with thin manufacturer detail, so quality varies between runs — inspect on arrival; 48 inches gives less drag than the 56-inch chutes; no carrying bag is listed, so pack it yourself.
6. JAWKU Speed Parachute — Best Quick-Release
Photo: Jdsteakley / Wikimedia Commons
Who it suits: athletes focused on explosive acceleration who want a dedicated quick-release chute from a sprint-training brand.
JAWKU’s speed parachute pairs a 2-inch heavy-duty adjustable nylon belt that rotates 360 degrees with a quick-release belt buckle, so you can feel the acceleration burst the moment the chute drops away. The brand sells direct as well as through marketplaces, and the chute is built for multi-sport sprint work — track, football, soccer, and field sports alike.
The quick-release is the honest difference here, and it is why this chute earns a place despite the weaker link: the buckle is the feature, not the chute size, and coaches who run overspeed drills daily will use it every session. The trade is verification — no confident US Amazon ASIN was found for this chute, so the link below is a tagged search link, not a product page, and you must confirm the listing matches the JAWKU chute before ordering.
Pros: quick-release buckle for true overspeed bursts; 360-degree rotating belt for movement in any direction; heavy-duty adjustable 2-inch nylon belt; sprint-training brand with a direct store; suits track and field sports.
Cons: no confident US Amazon ASIN was found, so the link below is a search link — confirm the listing before ordering; chute size and drag figures are not stated as clearly as the SKLZ or KUYOU listings; sold direct at a higher cost than the budget chutes here.
👉 Check price on Amazon (search link — no confident US product page was found, so confirm the listing matches the JAWKU speed parachute).
How to Choose the Right Speed Parachute
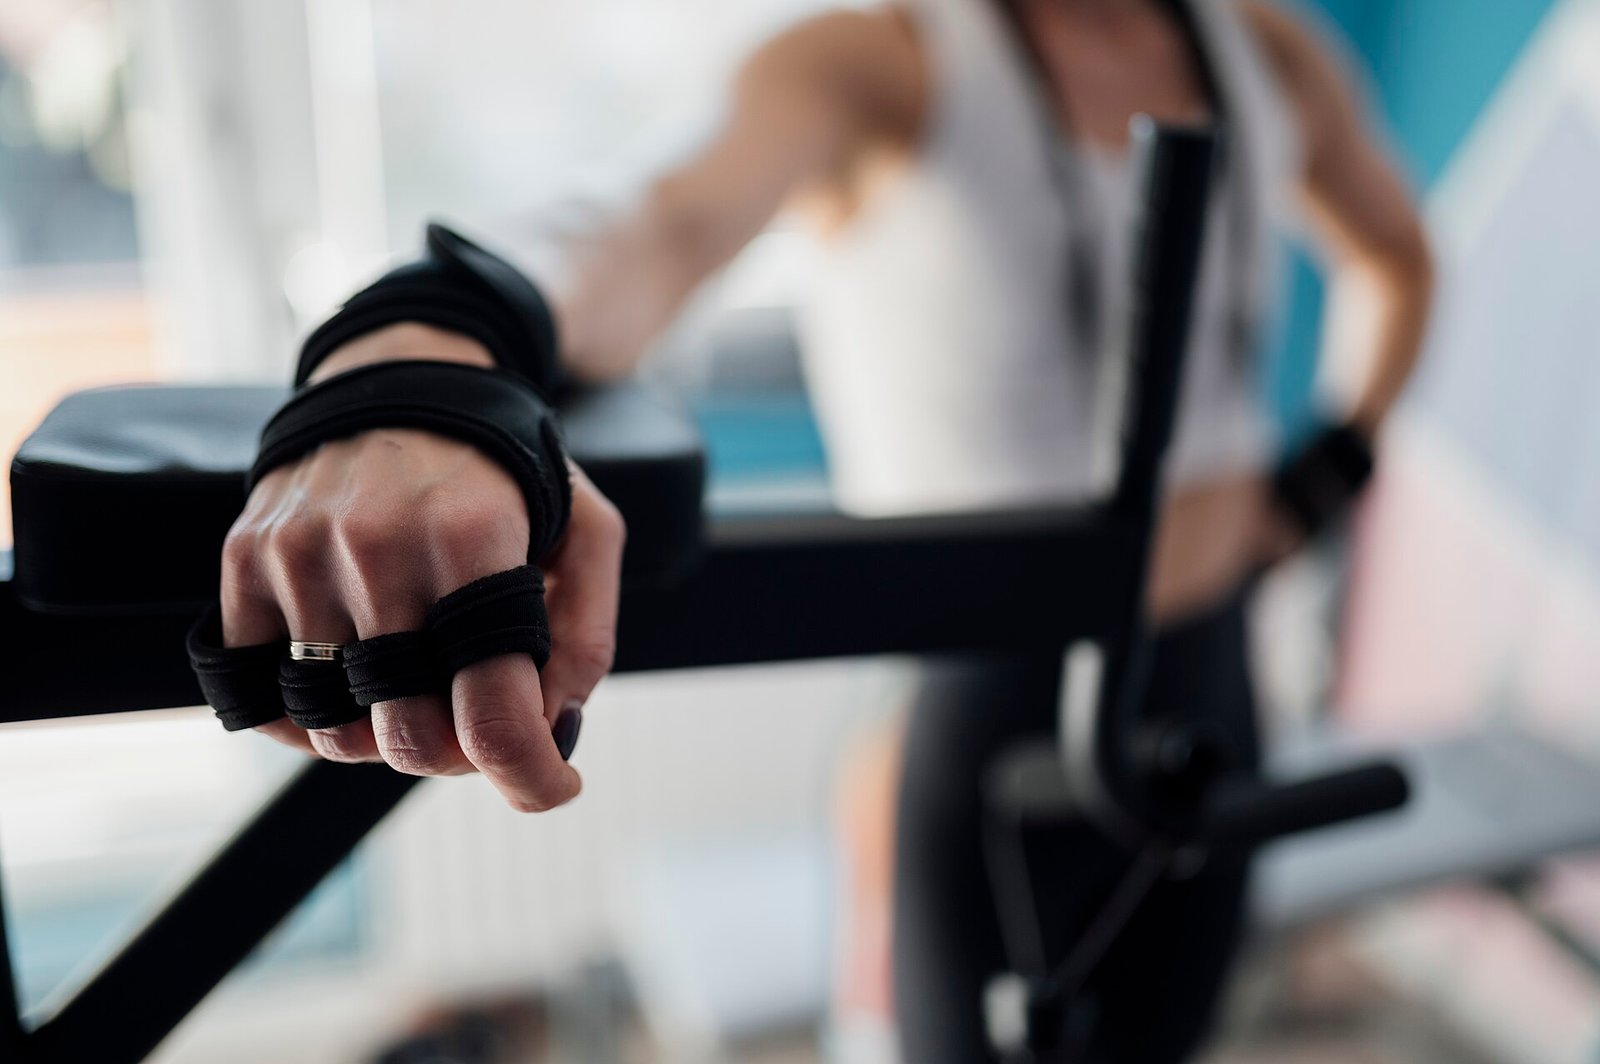
Photo: Shixart1985 / Wikimedia Commons
Start with your speed, then your strip, then your belt. A chute that drags more than your sprint can open is a sail on the ground, and a belt that slips mid-sprint is a hazard, not a training tool.
Then buy in this order: a 54-inch coaching chute first if you train alone, a dual chute first if you want two resistance levels, and a 48-inch chute first if you train youth or on a short strip.
Parachute size and drag: what each size actually does
Photo: Tokumeigakarinoaoshima / Wikimedia Commons
48 inches (BULLETSHAKER, Sports Power) suits beginners, youth athletes, and short strips: the chute opens fast, drags about 15 to 20 pounds at sprint speed, and needs less room behind you. It is where most real parachute training starts.
54 inches (SKLZ) suits most adult athletes: a middle drag that challenges a full sprint without stopping it, with a stated range of about 15 to 30 pounds depending on speed and source. It is the standard coaching size for good reason.
56 inches, single or dual (Bfsmile, KUYOU) suits advanced sprinters and teams: a single 56-inch chute drags about 12 to 33 pounds depending on speed, while the KUYOU pair roughly doubles it. Two chutes also give two resistance levels from one purchase — run one on light days, both on heavy days.
Drag follows speed, not settings: walk with a chute and it barely pulls; sprint and it drags hard. That is why stated pounds vary so much between sources, and why no single figure should decide your purchase — size and your own sprint speed decide it.
Waist belt and harness fit: what keeps a chute behind you
Photo: Wikimedia Commons
Belt width decides comfort: a 2-inch heavy-duty nylon belt (SKLZ, JAWKU) spreads the pull across your waist without digging in, while thinner belts bite on hard sprints. If the belt cuts in at jogging speed, it will cut worse at full speed — size up or pad it.
Rotation decides freedom: a 360-degree rotating belt (SKLZ, BULLETSHAKER, JAWKU) lets the chute trail behind you whatever direction you turn, which matters for field-sport drills with cuts and direction changes. A fixed belt suits straight-line track sprints only.
Fit decides safety: most belts here fit waists up to about 42 inches, and several fit from about 20 inches, so children and adults can share one chute. Check the fit at a jog before sprinting — a belt that rides up at jogging speed will ride up worse at full speed.
Quick-release mechanism: what the buckle actually does
Photo: Wikimedia Commons
A quick-release buckle (SKLZ, JAWKU) unclips mid-drill, so the chute drops away and your resisted sprint becomes a full-speed sprint without stopping. That overspeed burst — running faster than your resisted pace for a few strides — is the drill coaches actually buy these chutes for.
A release-by-design chute (Sports Power) drops the chute at overspeed without a buckle at all: simpler, with nothing to fumble, but less control over exactly when it lets go. Test it at jogging speed first, so the release timing does not surprise you at full speed.
No release at all (Bfsmile, BULLETSHAKER, KUYOU as listed) means the chute stays attached for the whole sprint: fine for pure resistance work, but you cannot run an overspeed drill without stopping to unclip. If overspeed work is your goal, buy a chute with a release.
Surface and space suitability: track, field, and park

Photo: Wikimedia Commons
Tracks are the kindest surface: flat, clear, and long enough for a chute to open fully, with no obstacles in the sprint path. This is where every chute here performs best, and where dual chutes earn their keep.
Grass and turf suit field-sport drills: the ground is soft for missed steps, and the chute trails cleanly — but check for holes, sprinkler heads, and cones in the path before sprinting, since a chute behind you hides the ground you just crossed.
Parks and pavements need care: a chute on concrete punishes a fall, and a pavement strip is rarely long or clear enough for a full sprint. If pavement is your only surface, keep efforts short, keep the path clear, and accept that the chute is a compromise, not an ideal tool.
What no parachute makes safe
Photo: Tyler Read / Wikimedia Commons
A parachute does not make a sprint safe by itself, does not fix a path that is wet, uneven, or crowded, and does not protect hamstrings, calves, or Achilles tendons that are already injured. The chute adds drag; it does not judge whether the drag is wise.
Check the chute before every session: laid flat, strings untangled, seams intact, belt buckle working, no frayed straps. A string that snags mid-sprint yanks you sideways, and a belt that slips mid-sprint sends the chute somewhere unintended.
Keep the sprint path clear of the chute’s trail — a parachute travels behind you and hides the ground it just crossed, so anything in its path gets hit or tripped over. Start with short efforts at moderate speed, and build up over sessions, never at full speed on the first rep. Never train through sharp pain, and never use a frayed or torn chute hoping it holds one more session. If you have an injury, or a condition that affects how safely you can train, talk to a clinician or qualified coach before starting parachute training. This guide is general information only, not medical advice.
Frequently Asked Questions
Photo: Tokumeigakarinoaoshima / Wikimedia Commons
What size speed parachute should a beginner buy?
A 48-inch chute: it opens fast, drags about 15 to 20 pounds at sprint speed, and needs less room behind you. Beginners should start there, and move to 54 or 56 inches only when the 48-inch chute no longer challenges a full sprint.
Single chute or dual chute — which is better?
Neither is better in general — a single chute (SKLZ, Bfsmile) gives one honest drag level, while a dual chute (KUYOU) gives two levels from one purchase and a heavier top end. Buy single for simplicity, dual for variety and heavier drag.
Can I use a speed parachute indoors?
Almost never: a chute needs a long, clear strip to open, and indoor spaces rarely offer one. A large gym hall can work for short efforts, but a normal room cannot — this is an outdoor tool, and the guide treats it as one.
Do I need a quick-release buckle?
Not for pure resistance work, but yes for overspeed training: a quick-release buckle (SKLZ, JAWKU) or a release-by-design chute (Sports Power) lets a resisted sprint become a free sprint mid-drill. Without one, you stop to unclip, and the overspeed moment is lost.
How do I stop a parachute tangling?
Lay it flat before every session, never stuff it — rolling keeps strings straight, while stuffing tangles them. Mesh panels (SKLZ, KUYOU) help, but they do not replace a flat lay-out and a quick string check before each sprint.
When should I replace a speed parachute?
When strings fray or snap, seams split, the belt buckle no longer holds, or the chute no longer opens evenly. Worn chutes snag athletes without warning — replace them before they do.
Our Pick in One Line
Photo: Staff Sgt. Clinton Firstbrook / Wikimedia Commons
If you want one answer: the SKLZ 54-inch chute is the best all-round buy because its quick-release buckle, 360-degree belt, and coaching-brand build cover almost any sprinter — but if you want the heaviest honest drag for the money, buy the KUYOU dual chute first, because two 56-inch chutes give two resistance levels no single chute can match.
For the rest of your home-gym setup, see our agility ladders guide and our plyometric boxes guide, and for the rope those sprint sessions complement, see our jump ropes guide.
As an Amazon Associate, we earn from qualifying purchases made through links on this page, at no extra cost to you.
This guide is research-based: we compared verified buyer reviews and manufacturer specifications, and we did not buy or hands-on test these products. Prices and availability change, so check the listing before ordering. The training information here is general information only, not medical advice — if you have an injury or a condition that affects how safely you can train, talk to a clinician first.